
In this tutorial, I’ll show you how to create a retro effect in Photoshop. You’ll learn how to turn a photo into a retro one using adjustment layers and adding a bit of noise. After reading this tutorial, you’ll be able to make your own retro effect in just minutes.
Tutorial Resources
Step 1
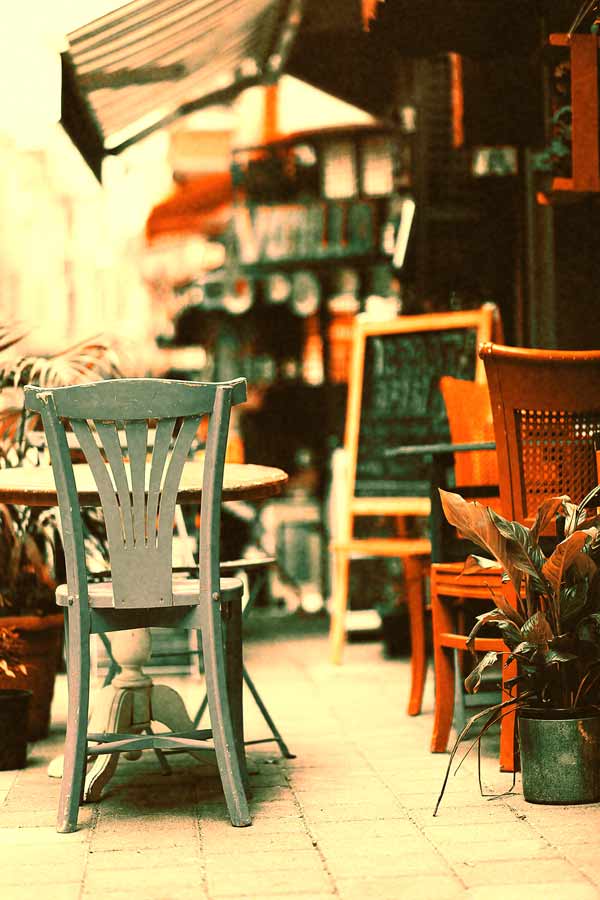
Open up the street image in Photoshop. I using the street image for this tutorial but feel free to choose your own photo.
Here is the image opened in Photoshop:

Step 2
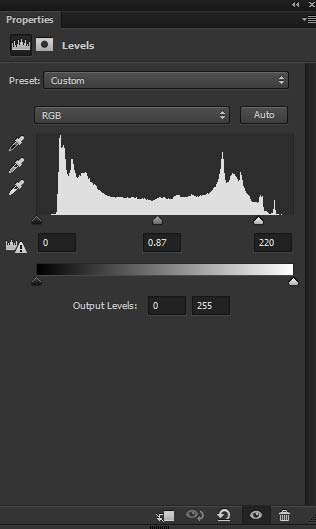
Make a Level adjustment layer by clicking on third button at the bottom of layer panel. Now drag the white slider to 220 and also, change the midtones a bit.
This will increase the brightness of the image which is lacking.
Here are the settings:
Here are the results with increased brightness:

Step 3
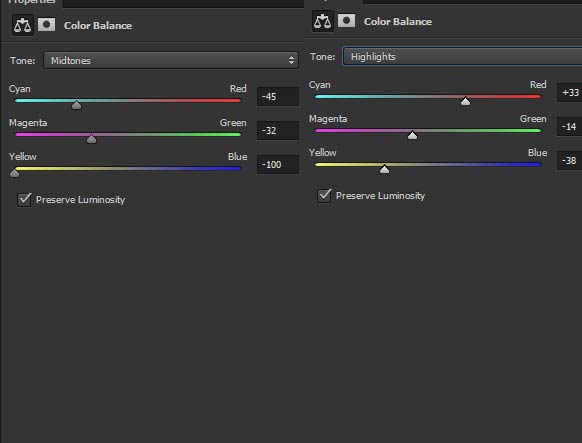
Next step is adding the colors to image using Color Balance adjustment layer. Make a Color Balance adjustment layer and add the yellow color tones to image.
Here are the values:
Results:

Step 4
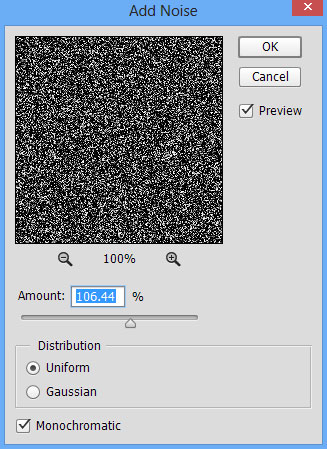
We are going to add some noise to the image. Create a new layer on top of all layers. To create a new layer you can press CTRL + SHIFT + N. Now fill this layer with black color by pressing ALT + BACKSPACE if the foreground color is set to black. You can set the foreground/background color to black/white by pressing (D) on the keyboard.
After filling the layer with black color convert this layer into Smart Objects. Go to Filter > Noise > Add Noise and input the following values:
To make the noise soft I applied blur effect. After applying noise, go to Filter > Blur > Gaussian Blur and enter the following values:
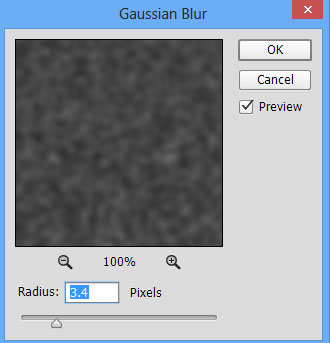
You can see the soft blur effect added in preview options and name this layer ‘noise’.
Step 5
For the final results, I changed the blending mode of noise layer to Soft Light. You can see the final results in the below image.
Conclusion
So these are simple tips and tricks for achieving a retro effect. You can play with the effect by changing colors, lights, contrast and many other things. Hope you like the tutorial and have a great Photoshopping day!!
Leave a Reply