
This tutorial will show you the process of adding colorful light leaks effect to any image in Photoshop. The tutorial is very simple and short even can be followed by the beginners. We’ll first color grade the image for the final effect and then we’ll add the colors to the image. So let’s get started!
Tutorial Resources
Step 1
Open up the image in Photoshop and I am using these guys image for this tutorial. Feel free to open up any of your photos. To open an image in Photoshop go to File > Open and open the image.

Step 2
At the first glance on the image, you can easily notice the low contrast on the image. I want to increase it and for that I used the Levels by selecting Layer > New Adjustment Layer > Levels.
Use the settings below:
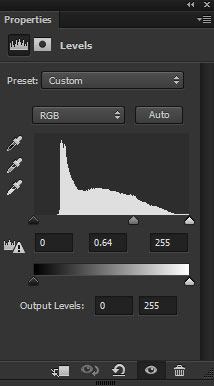
After using Levels:

Step 3
Right now there is, mostly, yellow color on the image but I want blue tones for my final effect. So I used another Levels adjustment layer and I played around with Blue settings to get the color I want. I also used the RGB a bit which you can see below.
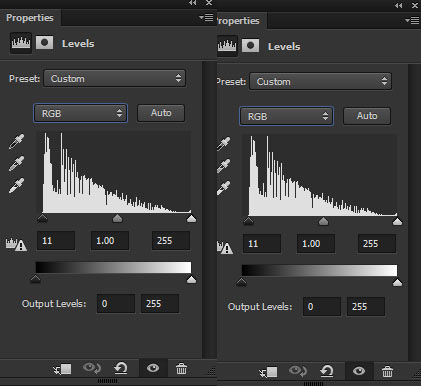
Here you can see that I added blue tones to the image using Levels:

Step 4
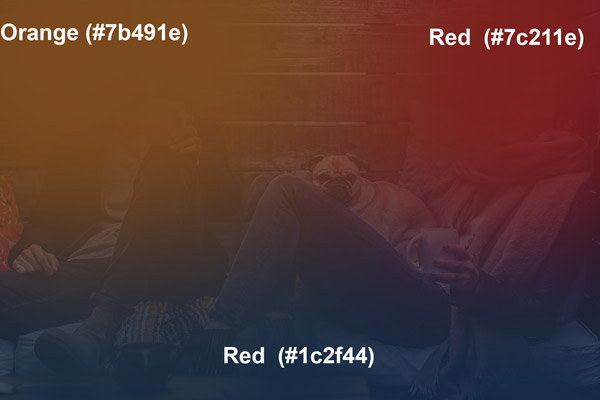
It’s time to add the light leaks to the image. I am using the combination of three colors which is red, yellow and blue. Create a new by pressing CTRL + SHIFT + N and name it ‘color leaks’. Once done, use a soft brush to paint on the top left with dark orange color, on the top right with dark red color and on the bottom with the dark blue color.
So these are my choice for the colors but feel free to add different colors and see how things go with that.
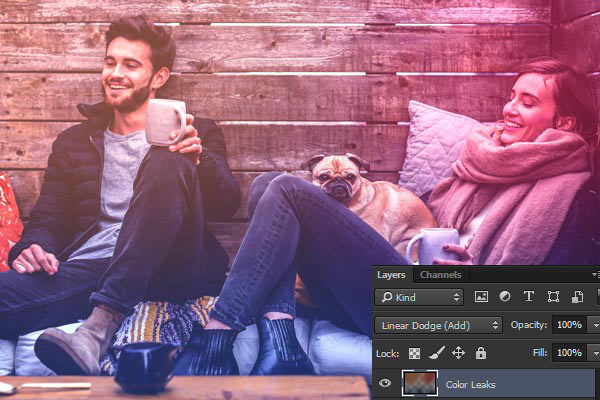
Once you painted the lights, it’s time to actually convert them into a light using blending mode. To do this, simply change the blending mode to Linear Dodge.
Here we have the light leaks added to the image:
Step 5
Duplicate the color leaks layer by selecting it and then press CTRL + J. Once you copied the layer, reduce its opacity to 43%. This will stronger the effect of the light leaks on the photo since I don’t want to overdo the effect that’s why I reduced the opacity.
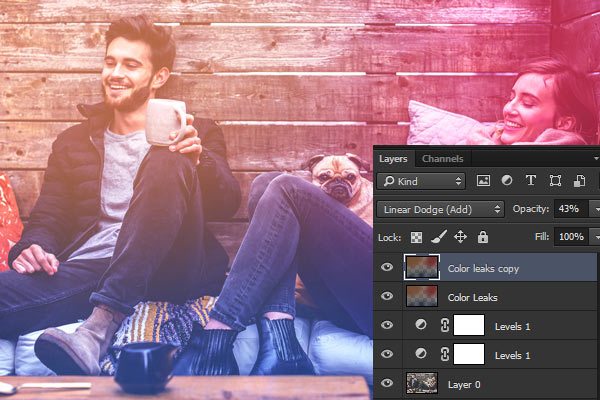
Step 6
For the final step, I used the Levels so the colors can come out properly. Don’t overdo the levels use otherwise it will create too much contrast and the effect of the light leak will no longer be visible.
Here is the final effect:

Did you notice that we’ve also created another version for this image? If you hide the visibility of the second Levels adjustment layer, which we created in Step 3, then you’ll have the following image with more yellow tones and decreased blue tones.
Here is the alternative version:

very nice i create same image . thanks for sharing your work.
You are welcome Nayana!