
Lightroom was created to be an all-in-one editing tool for amateur and professional photographers. In the digital age, photographers of any kind create thousands of images each year. Lightroom’s main purpose is to allow users to manage, edit, and create. Let’s dig in a little deeper shall we?
- Manage: organize thousands of images in the Library module through filters, keywords, collections, ratings, colors and more.
- Edit: accomplished through the Develop module, editing one or multiple images in a group is easy and straight-forward.
- Create: use your images to create collages, albums, or video slide shows via the Book and Slideshow modules.
Lightroom Catalog
The Lightroom catalog is compilation of images you previously imported into Lightroom. The actual images aren’t stored in the catalog, they are stored on your hard drive. Think of it like a database, one that stores information about your pictures. Lightroom knows where the image is stored on your computer, it remembers the edits you make, it associates all the information you tell Lightroom about it. When you first install Lightroom, a catalog is created for you, either from scratch with no images in it or from a Photoshop Elements Organizer catalog (it will ask you if you want to upgrade that catalog – click yes).
You can have one catalog or several catalogs. The catalog is like a big file cabinet.
Your catalog (file cabinet) is empty until you put pictures into it. How you import, the destinations you choose, the keywords you apply, the collections you make will determine how well your file cabinet is organized and if you can easily find the images you want, when you want them.
Importing/Adding Photos To Lightroom
In order to edit images in Lightroom, you must first “import them. The import process in Lightroom can add the images to your hard drive and make Lightroom aware of them in the same step. It might also mean just making Lightroom aware of photos that are already on a hard drive
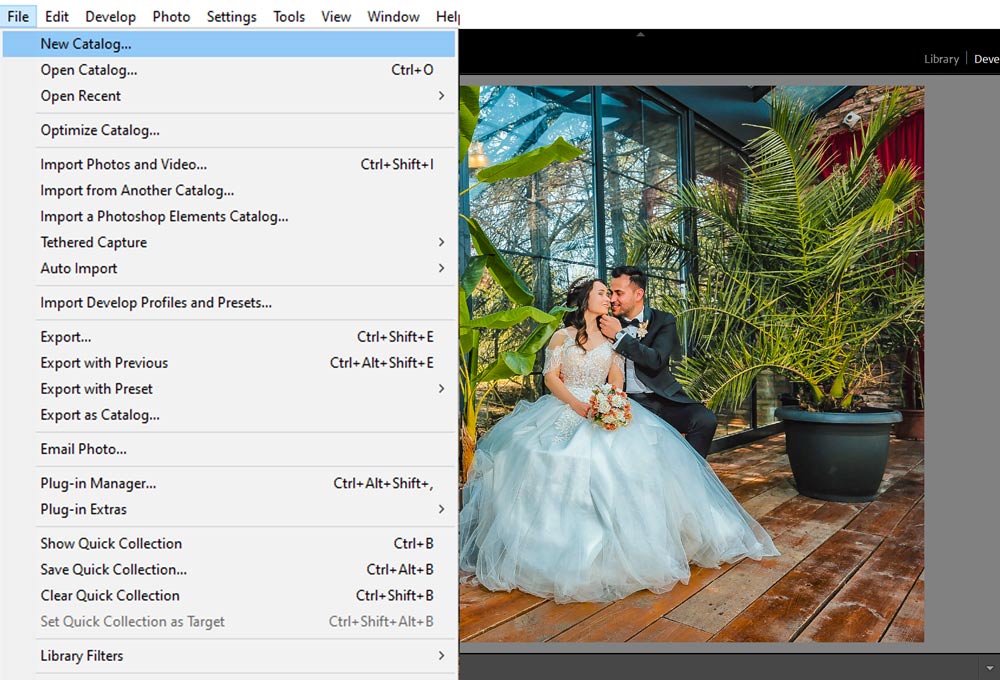
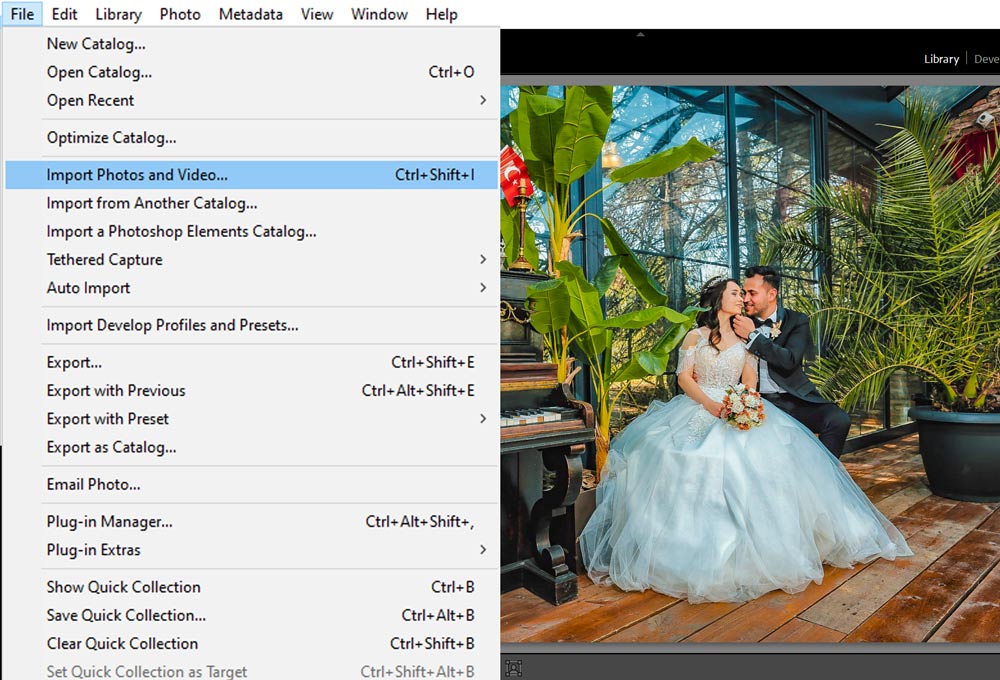
You can go to File > Import Photos & Videos to import photos in Lightroom.
There are three different ways this can be accomplished:
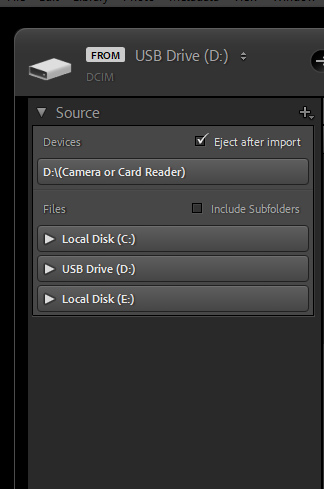
- From your camera’s memory card
- From your computer’s hard drive
- From an external drives you hook to your computer To begin the import process, simply go to File>Import Photos and Video. The import dialog box will open. Next, you will need to tell Lightroom where you want to import your photos or video FROM. This can be a memory card, a hard drive, or your camera. These options can be found along the left side of the import dialog box.
Use ADD when you are not moving or copying the files; you are simply saying, “Hey, Lightroom, these pictures are here. Please remember where they are.”
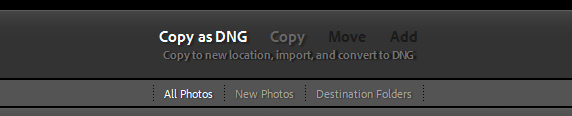
• Use MOVE when you want to move files from one location to another, like from one folder on your hard drive to another, or from your hard drive to an external hard drive
• Use COPY when you want to make exact copies of the images, like f rom your memory card to your hard drive.
• Use COPY AS DNG when you want to convert your raw files from the proprietary raw file (your camera brand) to a digital negative file. If you are adding your photos from a memory card, you can also check the “Eject After Import” box which will automatically disconnect the memory card after completing the import.
Importing Options
At this point in the import process, you should have selected WHERE the images are being imported from and HOW you are going to Copy/Move/Add them to your catalog. These last options can be seen as the final touches to your import that will help keep things organized and running smoothly. All of these options can be found on the right-side of the Import Dialog Box.
The File Handling Options
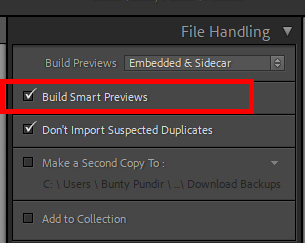
The File Handling panel allows you to choose the size of the previews, whether to import suspected duplicates, and a chance to make a copy of your photo on another hard drive. Make sure to check “Smart Previews” to create small files that Lightroom can use to edit your image, when the image is “off site,” like on an external hard drive that is not hooked up to your computer at the moment. When you want to export the images, hook up the drive where the picture is located, and then those changes made to the smart preview will be applied to create the new, edited file
The Apply During Import Panel
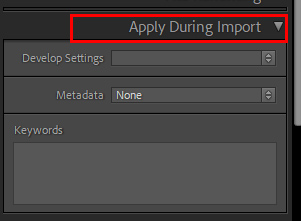
The Apply During Import panel allows you to apply three different settings:
- Develop Settings – Helps you choose any preset from the Develop Preset folder.
- Metadata – With Metadata, you can add copyright information or any information about your files. This will help people identify your photos by looking at the metadata that you provided.
- Keywords—tags or keywords that fit the entire group of images being imported For example, if you are importing a family portrait session, you could add the name of the family as a keyword along with the location you took the photos. You may also add some generic tags like portrait and family during the import process.
The Destination Panel
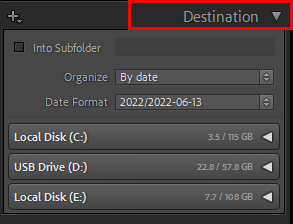
The Destination panel is probably the most important panel in the entire import screen and the one most often overlooked by new Lightroom users.
• The SOURCE section on the left-side of the import screen is what you are copying or moving. The DESTINATION is where those files are copied or located.
• Click where it says “Organize” and choose “Into one folder” if you want all the newly imported pictures to go into one folder. This can be an existing folder (in the example) or into a new folder that you create by checking the box in the top-left corner that says “Into Subfolder”.
• Remember that you can import to your internal hard drive (the one inside your desktop or laptop) or you can import to an external hard drive (one that you attach to your laptop or desktop via a USB cable).
Thanks for reading the reading the article. If you deem it useful, please share it on social media. Do comment below if you have questions, we would be happy to help!
Leave a Reply