Photography is a wonderful journey and there is a bumpy and long road ahead. There are going to be a lot of ups and downs and sometimes your photos may not come out as expected. That doesn’t mean you should feel uninspired but it’s more likely you need a bit of guidance to become a pro photographer.
In this article, I’ll share the top 11 tips that you can use to take absolutely stunning and sharp photos. I know there is a lot to cover but these tips would be a great starting point to avoid mistakes and get the best out of your camera.
Choose A Fast Enough Shutter Speed
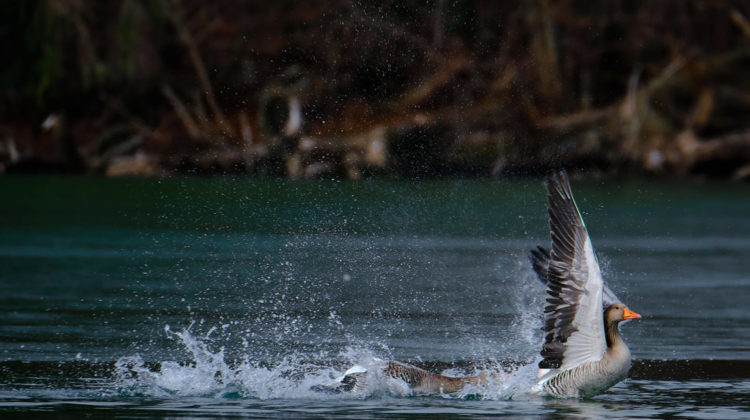
Choosing a fast enough shutter speed will help you avoid blurry photos that are a nightmare to beginner photographers. A faster shutter speed can capture fast-moving subjects and freeze their actions leading to tack sharp photos. It can even help you if you are shooting handheld. When you shoot handheld, there is always a chance of camera shake that can ruin your images and this can be taken care of using a fast shutter speed.
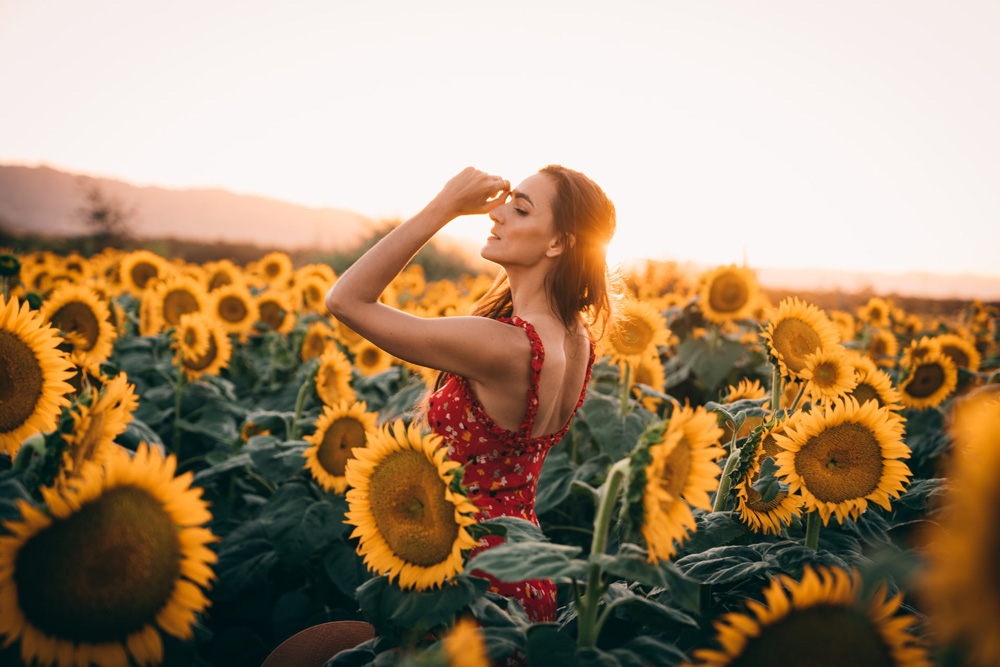
Staying under 1/1000 would be more than enough if you are shooting portraits whereas going over 1/1000 makes sense shooting birds in flight, cars, sports, etc… For long exposure photography and to produce motion blur a slow shutter speed is preferred.
Understand When to Use High ISO
ISO is a digital sensor in your camera and it makes a photo either darker or brighter depending on the ISO value you choose. The default ISO value is 100 or 200 but understanding what value to use to avoid overexposed & underexposed photos should be your priority. A low ISO value can be used when there is enough light to capture photos whereas a High ISO can be used in low light conditions to absorb as much as light possible. A high ISO value can lead to noise appearing in your image but it can be used creatively such as giving your shots an artistic touch.
If you are shooting in daylight, the default ISO would be more than enough to capture a properly exposed photo. Of course, you can increase the ISO as the lighting conditions get lower and lower.
Choosing The Correct Aperture Number
Aperture is the opening of the lens size in the camera and it lets light through depending on the aperture f-stops number. A lower aperture number can create a bright photo with soft and pleasing blur in the background. The lower aperture f-stops such as f/1.8, f/2.8 can produce blurry background while keeping your subjects in focus (great for portraits).
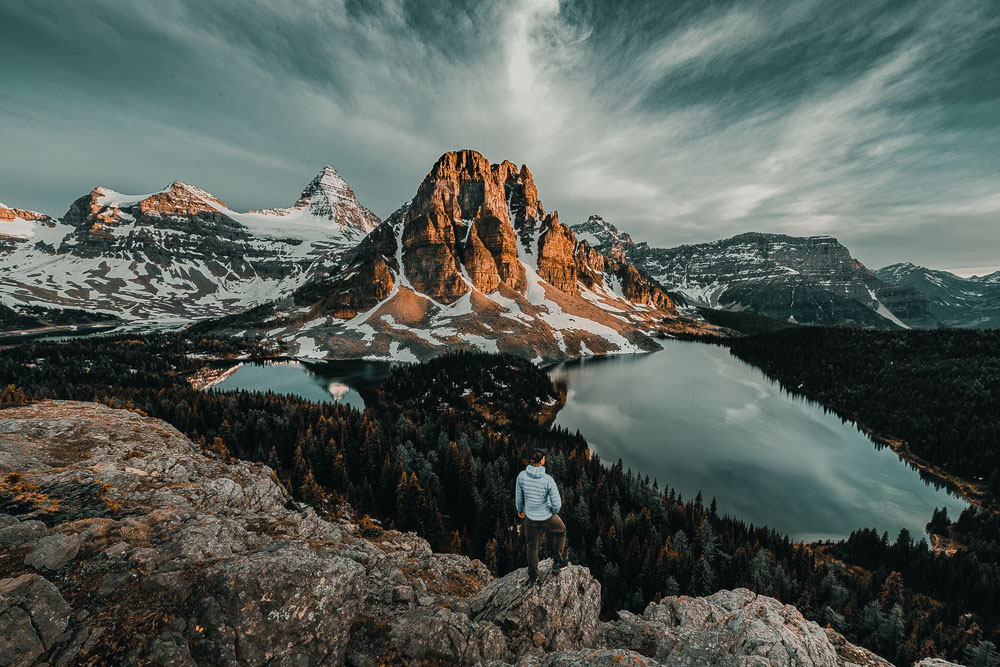
High f-stops such as f/8, f16, or more can be used when you want everything in focus (as much scenery as possible) in a landscape photo. For example, capturing landscape photos where you want every element in sharp focus. Remember the lower the f-stop the more background blur there will be and the higher the f-stops the less background blur there will be.
Aperture & Shutter Priority Mode For 98% Of Your Photos
Aperture Priority and Shutter Priority both are semi-manual modes in the camera. These modes are great when you want to get off that Auto mode that keep deciding the best settings for your photos. Most of the photographers use Aperture Priority for 90% of their photo and it is the most preferred mode in photography.
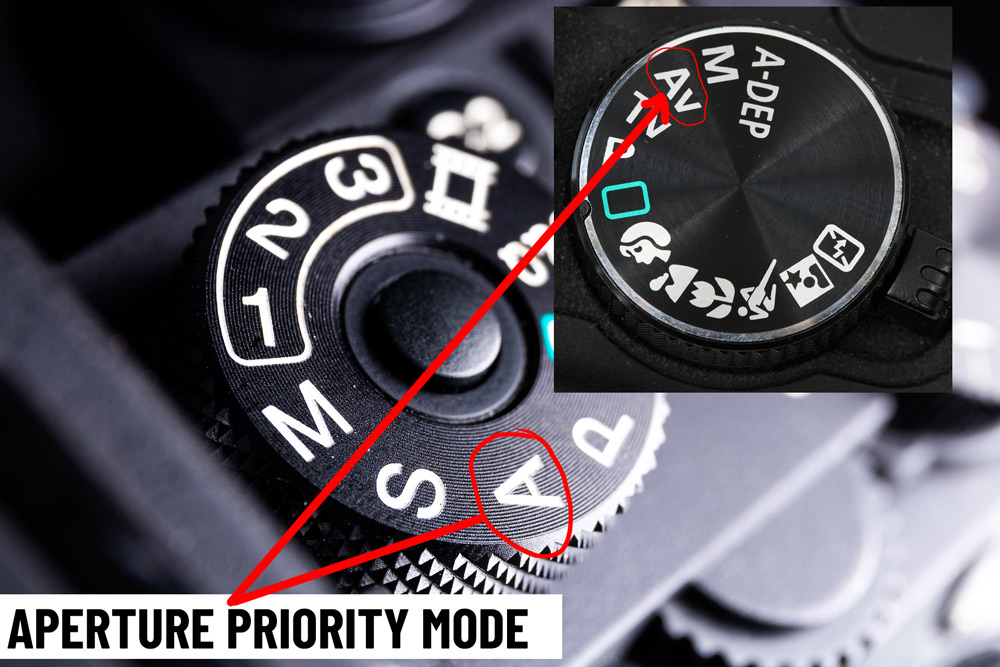
In aperture priority mode, you set the aperture f-stops number and the camera automatically select the best shutter speed to keep the exposure balanced whereas in shutter priority mode you are free to choose a shutter speed and you camera automatically chooses the optimal aperture f-stops number. If you are shooting subjects that are not moving and you want to produce background blur, you can go with Aperture Priority Mode. Shutter priority mode can be used to capture the movements of fast moving subjects (capturing birds in flight).

Nail The Exposure Triangle
Exposure is reference to light and there are 3 important elements that makes the exposure triangle and these are Aperture, Shutter Speed & ISO. If you change (increase) one of them, the other two or at least one of them must change (decrease) to maintain the exposure balance. In aperture priority mode, if you decide to use a lower aperture number (letting more light in), your camera will automatically chooses a fast shutter speed (less light in) to keep the exposure balanced.
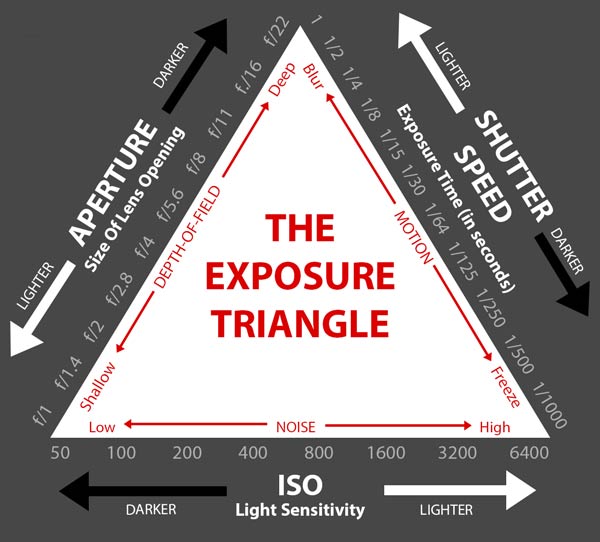
Similarly, in shutter priority mode, if you are using a fast shutter speed (letting less light in), the camera will automatically adjust to a lower f-stop to let more light in and keep the exposure balanced.
Set White Balance
White balance is a process of removing color casts to balance colors. White balance is measured in Kelvin (K) and there are many types of W/B such as Tungsten, Fluorescent, Daylight, Cloudy, Shady, and more. It is very tricky to set a correct white balance when shooting. That’s why most photographers set the white balance to auto and later if needed it can be changed in a photo editing program like Lightroom Classic.
But if you are shooting a lot of photos, setting the white balance to auto and adjusting it for every single photo can be cumbersome in Lightroom. That’s why it is always best to learn how to adjust white balance when shooting. It’s not confusing, most of the cameras has a handy manual guide that you can use to adjust white balance.
For example, Daylight can be used when you are shooting under the sun where the sky is bright and clear.
Cloudy can be used under overcast conditions. Fluorescent can be used in indoor scenes lit by fluorescent bulbs, and Tungsten is a good choice when shooting indoor where the scene is lit by yellow and warm lights.
In Lightroom Classic, White Balance can adjust colors using the opposite color theory. Let’s say if a photo has blue tones values more than any color then it can be fixed by adding yellow tones to the image. To remove the blue color cast, you can increase the temperature value, and Lightroom will cancel out blue tones and replaces them with yellow tones. The same thing goes for Reds & Cyans and Greens & Magentas.
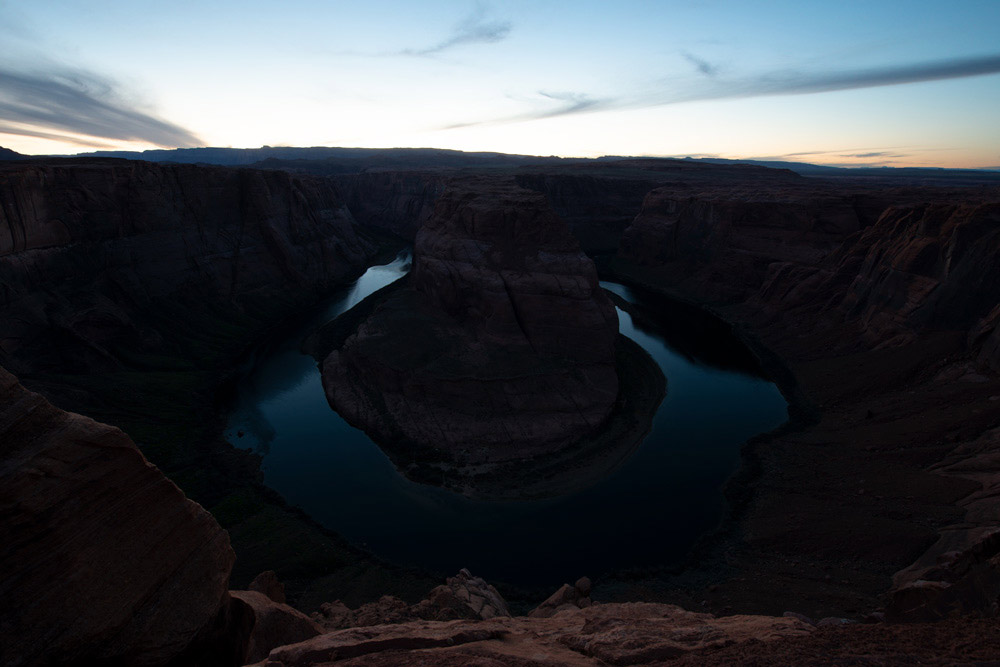
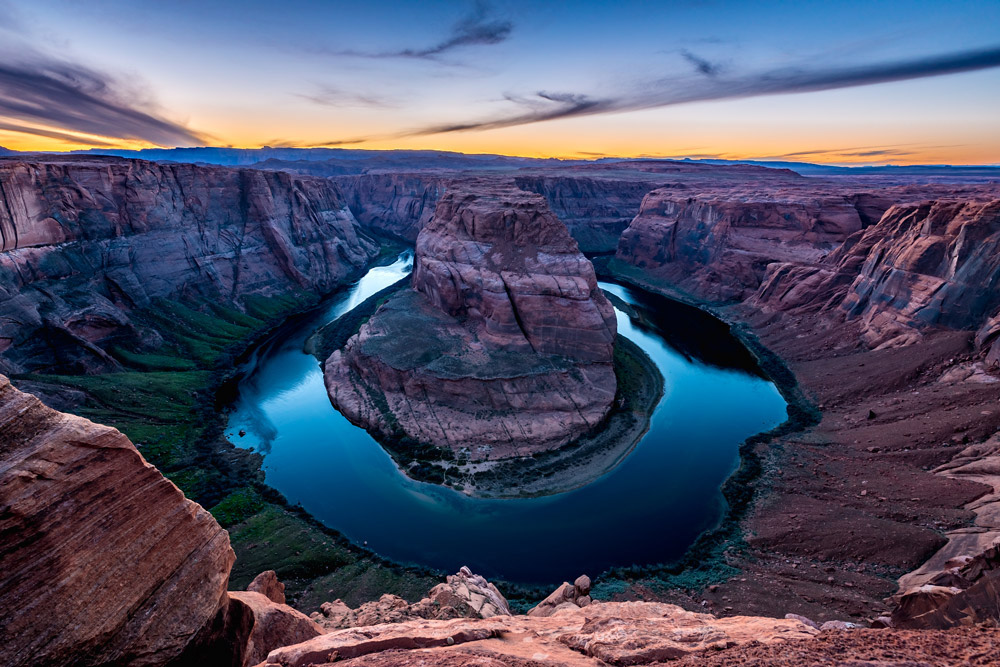
Know When To Use a Tripod
Investing in a good tripod is one of the best things you can do to improve your photos. You might be shooting handheld using a fast shutter speed but that’s not the case when you want to shoot landscapes (or you want add dramatic effect like motions blur) and a slow shutter speed is common in landscape photography.
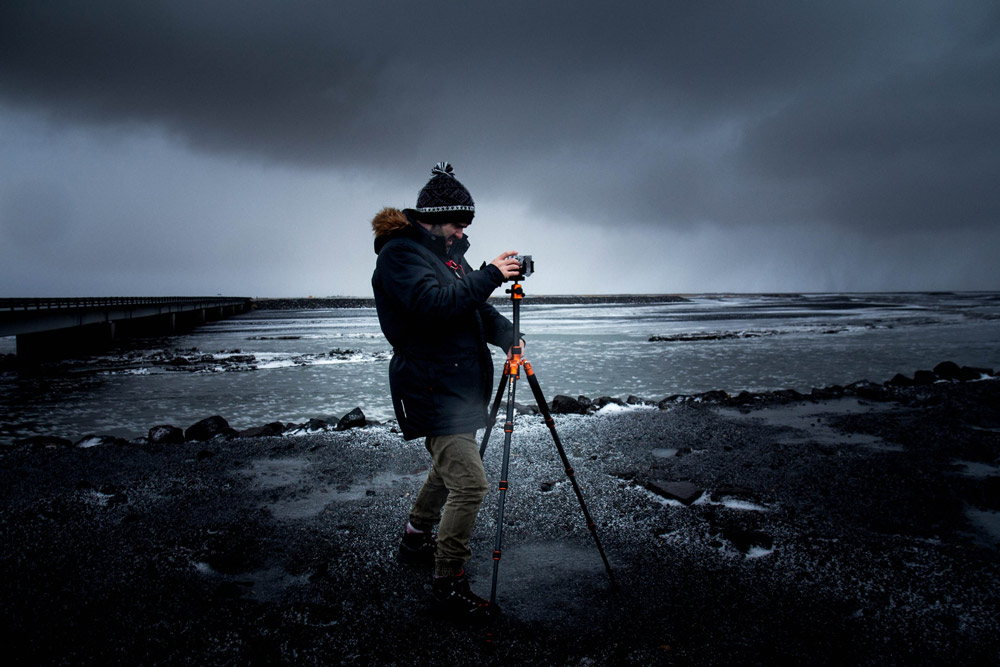
To avoid camera shake, it is important to get a good and sturdy tripod when shooting with slow shutter speeds so it can keep your camera still. You can use a tripod when using 1/250 or slower shutter speed to get perfect focus, and going over it, a tripod won’t be necessary.
Shoot A Lot
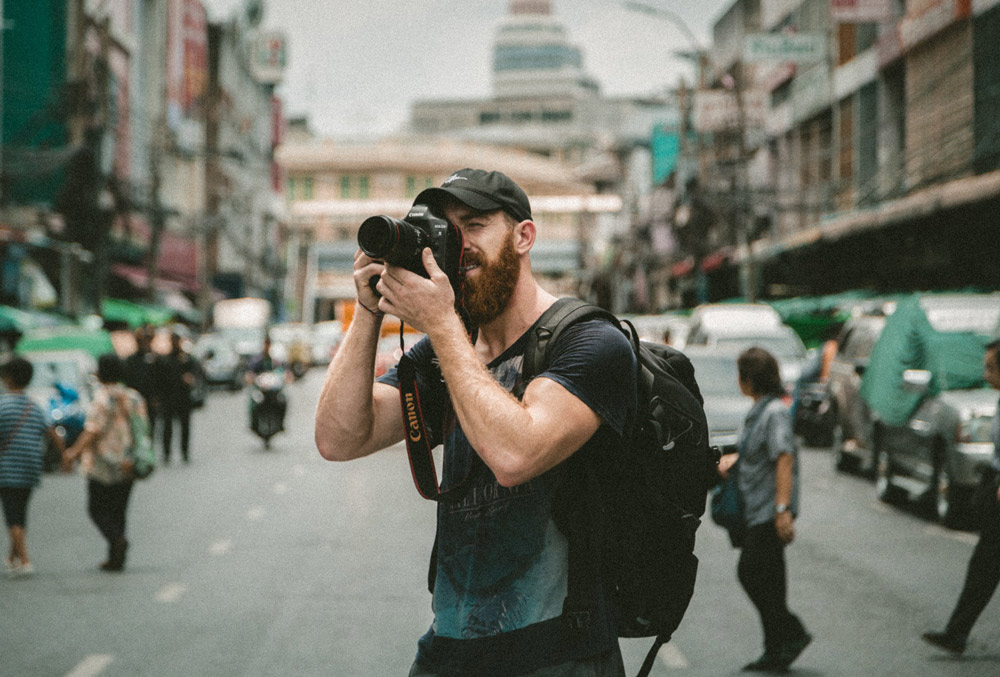
Practice makes perfect, and the same thing applies to photography. The more time you spend shooting, the better you’ll understand your camera and most importantly camera settings. Practicing shooting portraits, landscapes or everyday photos is a great way to improve your photography. It will help you how to move around especially when capturing portraits, how to hold your camera, experimenting with camera settings, and most importantly you’ll learn from your mistakes. Step out, capture photos as much as you can such as portraits, landscapes, freeze movements, create background blur, work with your friends and family, and so much more.
Shoot In RAW
Shooting in RAW has a lot more advantages than JPEG. A raw photo format is an unprocessed product where a jpeg photo is more on the side of the processed version. RAW can capture uncompressed data from the camera sensor and that’s why they have a high dynamic range (they can record a lot of data) when it comes to capturing details.
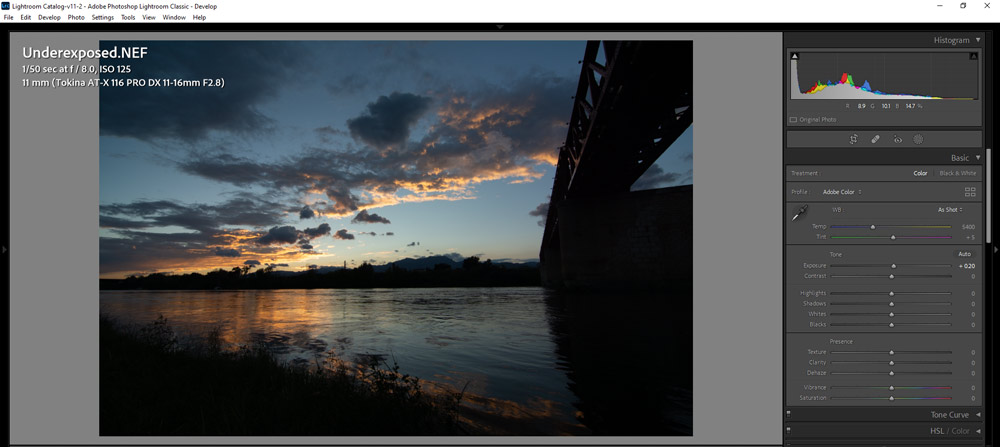
Raw photos can recover details such as you can fix a blown-out sky or you can recover information from shadows as well. That means if a photo is underexposed or overexposed it can be fixed in Lightroom whereas in JPEG it is impossible or it can be possible the only cost would be the quality of the image.
If you are looking for a high-quality image with a lot of information then you must shoot in RAW. Jpeg is great when you don’t have enough memory space (A raw photo takes more space than jpeg) and you know how to nail the perfect exposure every time. JPEG format is considerable in point-and-shoot situations when you want the photos ready to be used straight out of the camera.
You Don’t Need An Expensive Camera
For taking stunning sharp photos, you don’t need to spend a fortune. Investing a big amount in the camera doesn’t mean you’ll become a great photographer overnight. It has to do with yourself because it is not your camera that takes the photo.
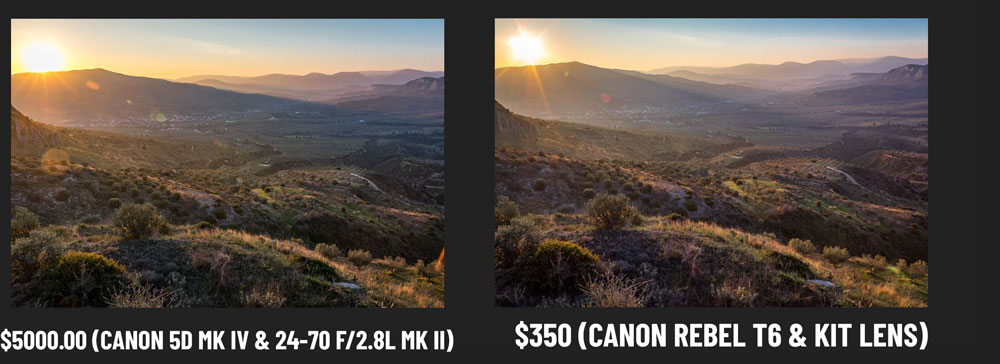
Instead of investing a hefty amount into a camera, I would recommend learning about composition rules, camera settings, and post-processing as these can make your photos look better than a photo taken by an expensive camera.
If you still want to invest, I would recommend investing in lenses instead. You can get yourself a better prime lens, zoom lens, wide lens as there are a lot of lenses (even your kit lens is great starting point) available in the market for different photography needs.
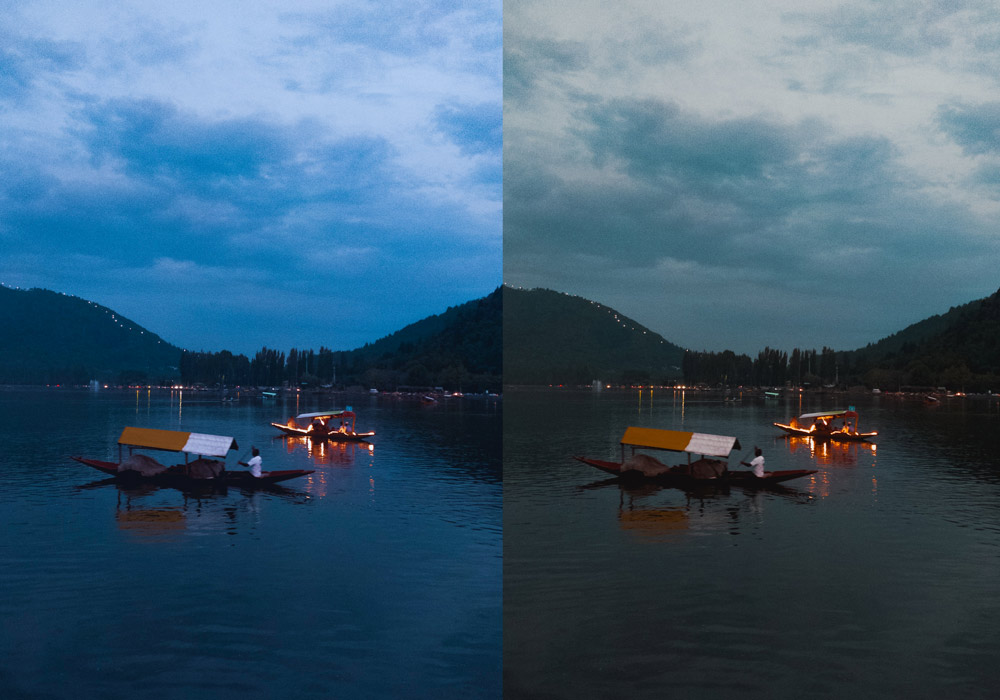
Master Lightroom
It’s no secret that I’m a big fan of photo editing and it can do wonders for your photos too. I know spending a lot of time in front of the computer is not what you want. And we all love it even more though, is spending time behind the camera, actually shooting and capturing moments.
So I always try to find ways to make the editing process quicker and more streamlined so I can spend more time in the field. The best way to process photos quickly using Lightroom presets.
You know some photos are good, others are just great, and some are nothing to write home about. That’s fine! If you’re like me, it’s all about the process of getting in the frame of mind, trying to find a great angle, or going places that tourists don’t flock to. But then you get home, look at the photos and… well, let me ask this bluntly…
How many of your shots are keepers? Really. Be honest.
I’d say that right off the bat, about 20-25% of my own shots are keepers. The rest often need a little bit more post-processing work. Maybe the exposure was a little off, or the colors didn’t come out exactly as I thought they would – or maybe some images need a certain style or aesthetic. Whatever the reason, I know there are ways to turn those “hmm, alright…” images into “oh wow!” photographs. It all happens in post-processing!
Investing in Lightroom presets is a good starting point to quickly edit your photos to perfection. If you are looking to buy presets, always make sure those presets are matching with your style otherwise you are throwing your money out of the window. It is only possible by taking a look at the before/after imagery, or if you are after a preset pack of your favorite photographers make sure to learn more about their editing style before you decide. Don’t forget to check out the Master Collection for premium presets.
I hope these top tips will help you become a better photographer. If you have tips, that you would like to share with our readers, comment down below. That’s it for today!

Leave a Reply