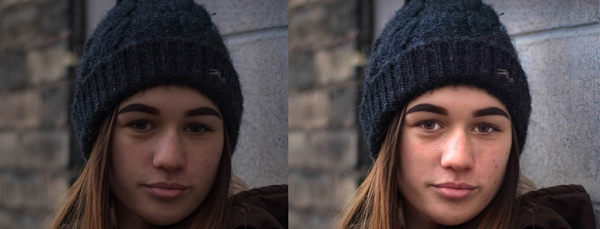
In this tutorial, I’ll show how to use the Dodge and Burn tool to either lighten and darken the image in Photoshop. We’ll use both tools one by one with different settings and non-destructively. You’ll learn how to use this technique effectively to enhance the photos as well as how you can use it for retouching as well.
Tutorial Resources
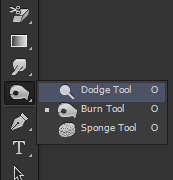
Step 1 – Accessing Dodge and Burn Tool
Basically, this tool Lightens = Dodge and Darken = Burn the areas of the image. It also gives more control over the specific areas of the image as you can target shadows, midtones and highlights with different exposure settings. You can lighten up underexposed areas and darken the overexposed areas of the image with these tools.
You can access this tool by pressing the (O) button or you can also select it from Toolbox.
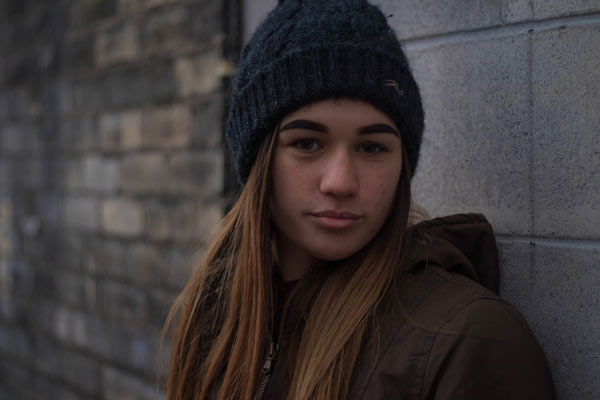
Step 1 – Open the Image
Open up the girl in Photoshop by selecting File > Open and open the image. You can see that the image is underexposed or dark and we can use the Dodge Tool (O) to lighten it up.
Step 2 – Using the Dodge Tool
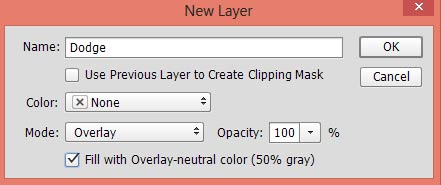
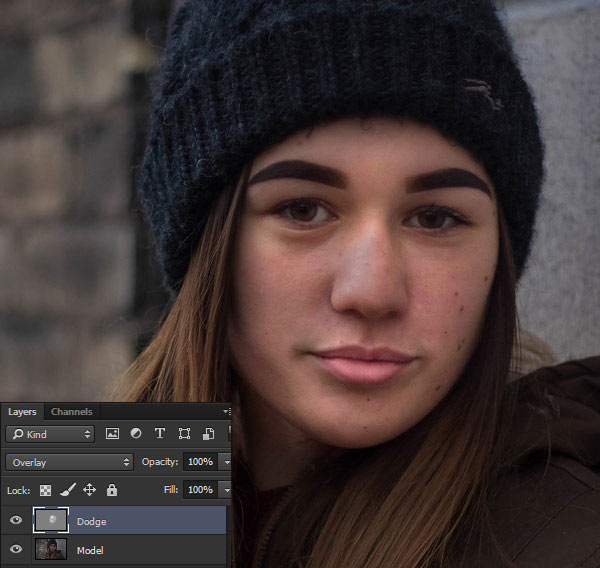
Now we’ll do the dodge and burn non-destructively without harming the original image. So Create a new layer by selecting Layer > New > Layer and name it ‘Dodge’. Fill this layer with 50% gray color with blend mode changed to Overlay.
You can see the settings below:
Activate the Dodge Tool (O). Set the Range to Midtones and Exposure about 9-11% at the option bar. You can also check the Airbrush Effect Option if you want to use the brush as an Airbrush.

Now start lighting up the image. Start with the face first, use the Dodge Tool on the nose, forehead, cheek, and lips. If you want then you can change range settings to target highlights and shadow areas. Right now I am only targeting the midtones areas.
Remember I am using a soft round brush for the Dodge and Burn tool and it’s a default first Photoshop brush. You can press the Bracket [ or ] Keys to decrease or increase the brush size during the dodging process.
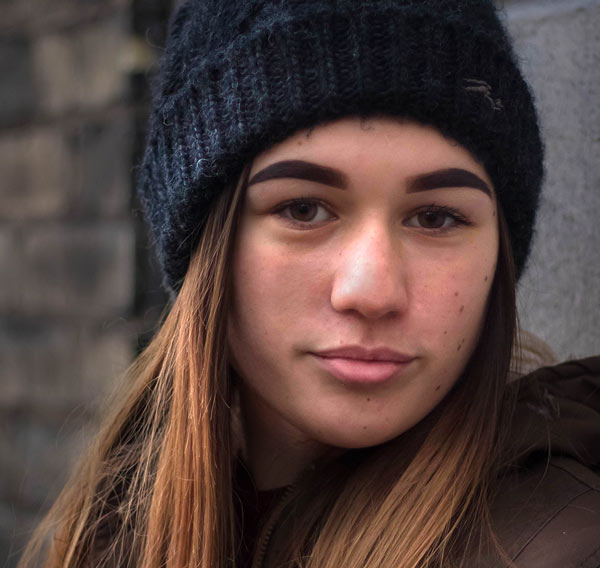
Here you can see the face is started to lighten up:
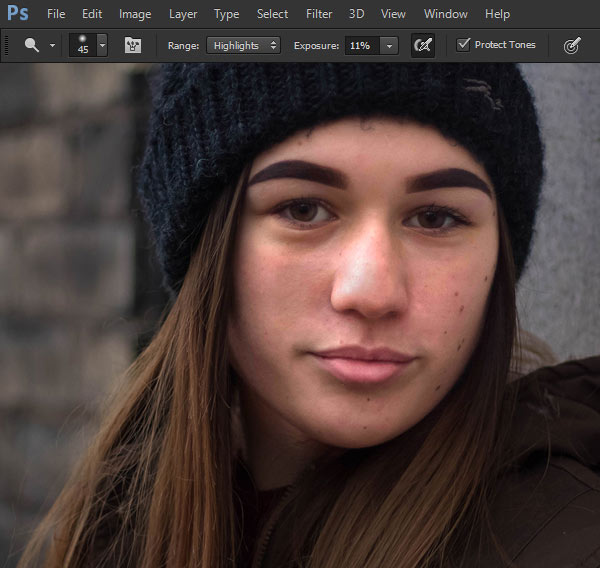
Now I changed the Range to Highlights and I started lighten up the image further. Obviously, you can change the range to shadows if you want and even you can increase the exposure if you want the more intense effect.
Step 4
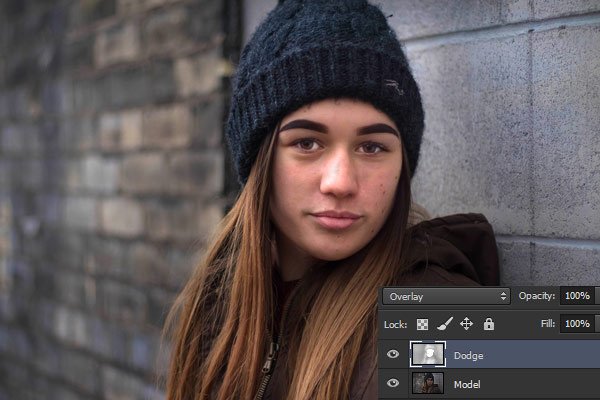
Now I used the Dodge Tool on the hair:
Finally, I used it in the background, cap and brighten the eyes as well. You can use another layer of 50% Gray color to add more effect if the existing layer is not doing enough for you.
Step 5 – Using The Burn Tool
Open up the man in Photoshop and we’ll practice Burn Tool (O) here.
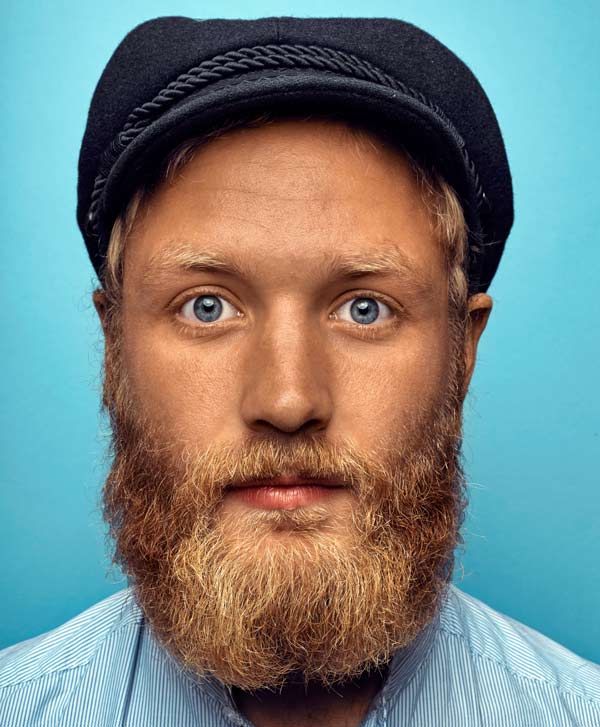
Now use the Burn Tool to darken the skin details like the eyes, forehead, nose, lips and the beard of the man. Not only the skin details you can even use it in the background and on the shirt of the man if you want to darken it as well. You can also use it on other overexposed areas of the image to darken them.
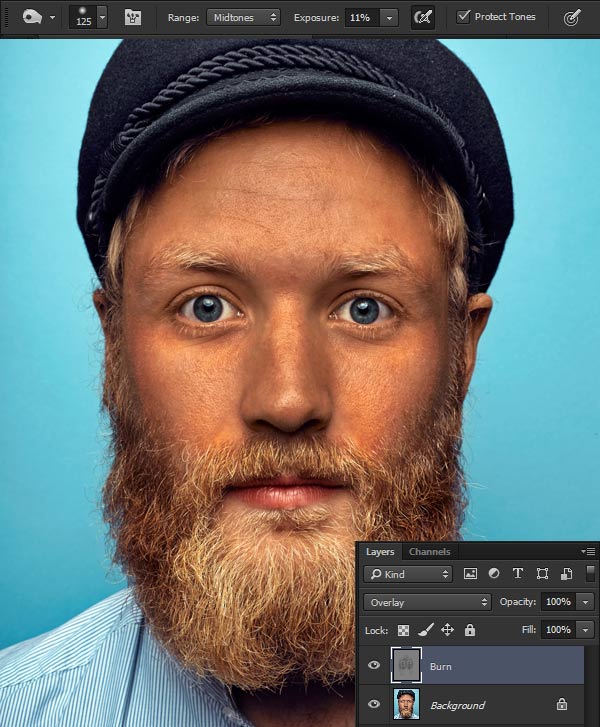
There is no doubt that you can change the setting of the Range and Exposure during the darkening process. This is how you can use these tools either lighten up and darken the image in Photoshop.
Leave a Reply