
In this Photoshop tutorial, I’ll show you how to give a retro and vintage look to your photos in Photoshop. We’ll use an adjustment layer to achieve the retro effect and after that, we’ll give our photos an old style vintage look by creating vignette effect and blurring the edges as well. Find out more by reading this tutorial and give your photos a vintage retro look!
Tutorial Resources
Opening the Image
Step 1
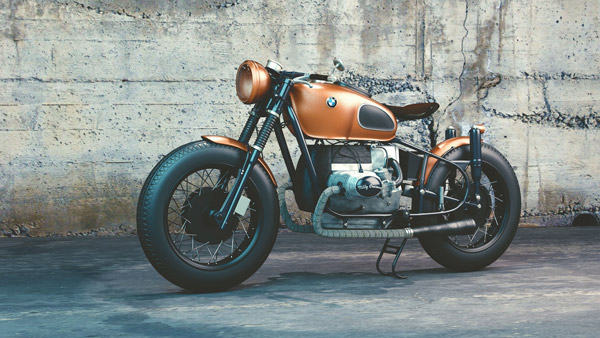
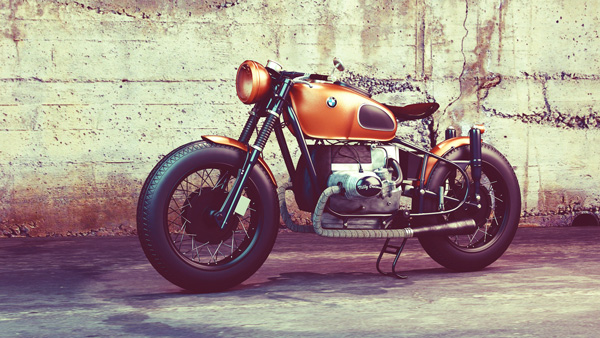
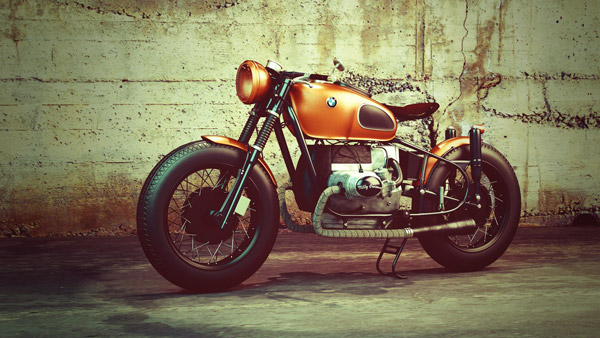
Open up the bike image in Photoshop by selecting File > Open. Here is the image which I am using in this Photoshop tutorial:
Step 2
Make a Curves adjustment layer by clicking on third icon at the bottom of layer panel. Use the Red channel to increase the amount of red color. Here you can see the values:
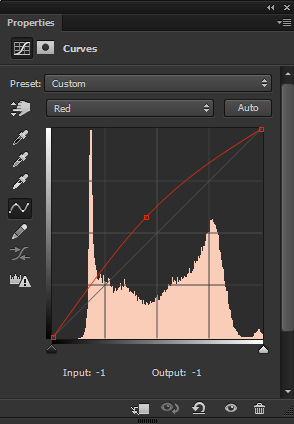
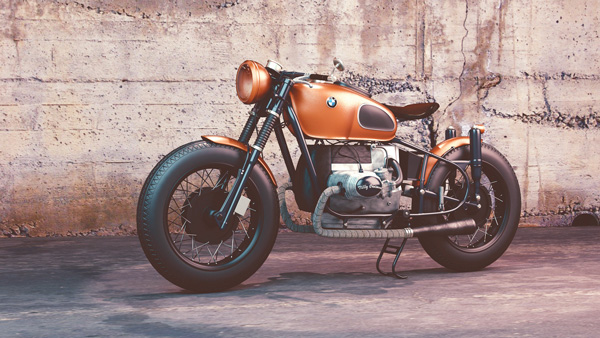
Results:
Step 3
Now switch to Green channel and make a S curve shape by adding two points. This will add Magenta tones to shadows and Green tones to highlights.
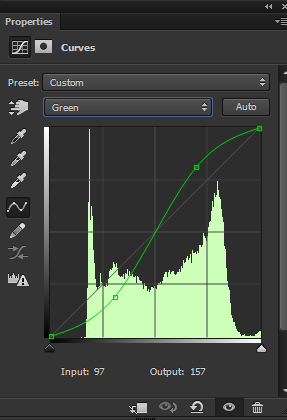
Results :
Step 4
Now, switch to Blue Channel and create a Negative blend to remove the blue color and add more yellow colors to photos. Use the settings below:
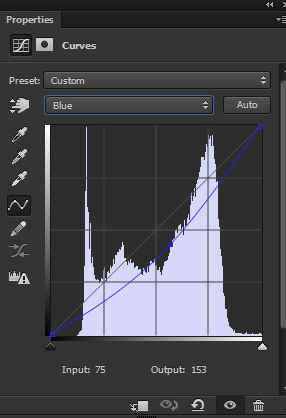
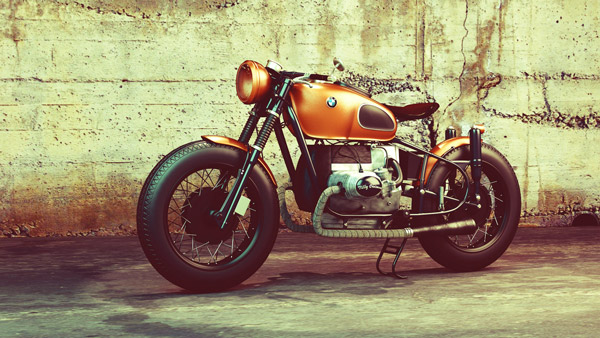
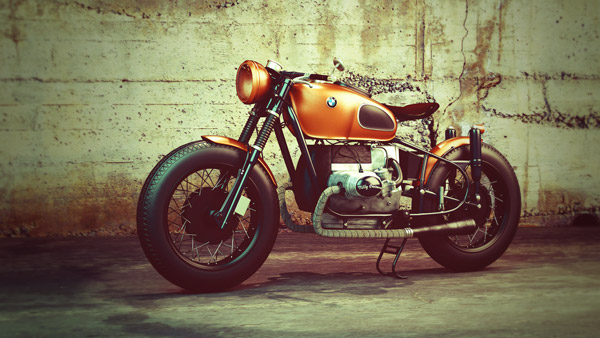
Here is the retro effect:
Step 5
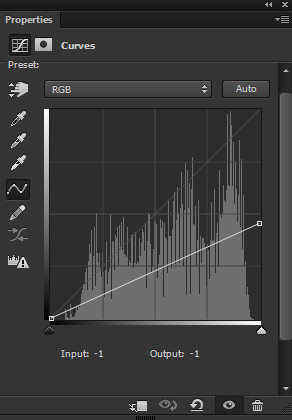
To give the photo a vintage look, I am going to give it a Vignette effect. Make a new Curves adjustment layer and decrease the brightness using the following settings :
On the layer mask of Curves, I masked the effect on the highlighted red area to keep the corners darker and maintaining the light on the middle. That will also add more to focus to the subject of the image. Use a soft, basic black brush for masking the effect.
Results :
Step 6
Finally, I merged all layers into single layer by pressing Alt + SHIFT + CTRL + E. Then I added Gaussian Blur by selecting File > Blur > Gaussian Blur, set the radius value to 3 pixels.
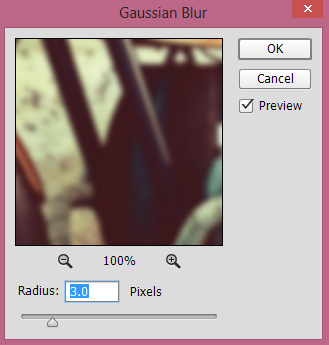
I keep the blur effect on the edges of the photo. Therefore, I keep the effect on the edges to blur them. You can hide the effect by selecting Smart Filter layer mask, then use a soft basic black brush to mask the effect.
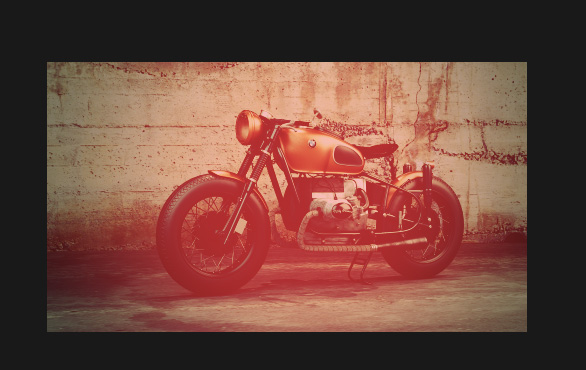
Final Results:
Conclusion
Thanks for following the tutorial. Hope you liked it and these are simple tips to add the retro vintage look to your photos. If you like the tutorial then share it with the world by pressing the social media icon on your screen. Have a great day!
Thanks for the lesson, simple enough, but remember that each photo requires individual treatment, to obtain a similar effect 🙂
Yes, of course!
will it be possible to upload images?
I didn’t get you! Upload images where?
Here, in the comments)
Apologies but you can’t!