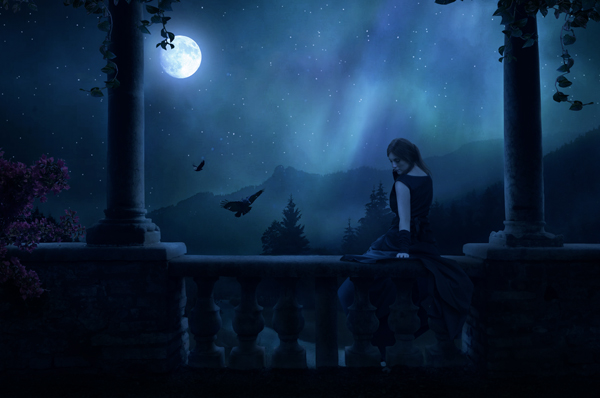
In this Photoshop tutorial, I’ll show you how to create a fantasy, emotional scene photo manipulation in Photoshop. You’ll learn how to create a moonlight scene, creating stars using filters and creating an emotional mood. You’ll also learn how to take care of minor details, working with shadows and highlights, blending multiple stocks and working with groups.
Tutorial Resources
Preparing the Background
Step 1
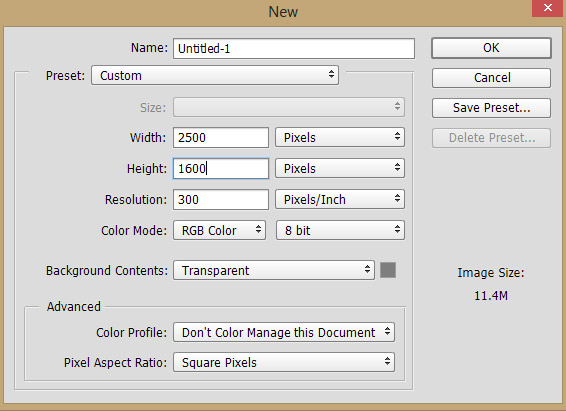
Let’s start by creating a new document in Photoshop and I use the following settings for this Photoshop tutorial. But I suggest you to that don’t go for higher setting and keep the document width under 2000 pixels.
Step 2
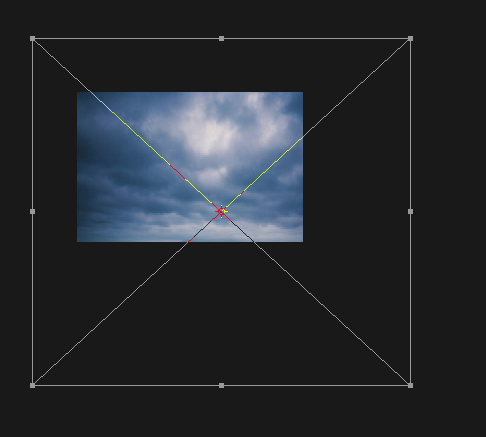
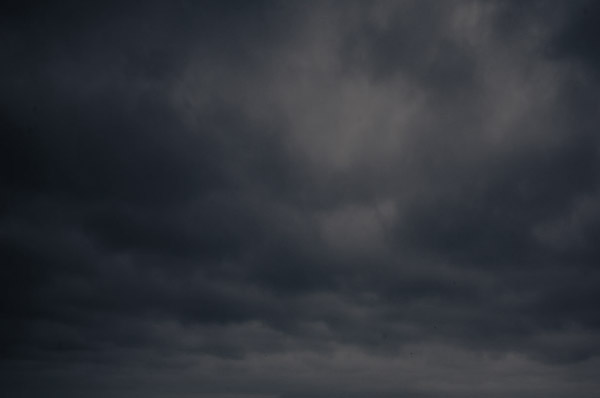
Open the sky image in Photoshop and then drag it into our main document using Move Tool (V). Use the Transform Tool (CTRL + T) and scale it as shown below to get the sky parts or either simply select the sky parts before moving it to our new document.
Results:
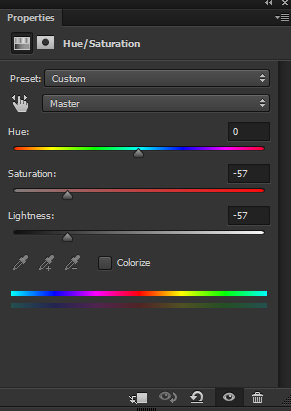
Step 3
Add a Hue/Saturation adjustment layer to sky. You can add an adjustment layer by clicking third icon on layer panel or go to Layer > New Adjustment Layer > Hue/Saturation. Now reduce the saturation and lightness using the following settings:
Results:
You can read our basic Photoshop Tutorials for adjustment layer to get used to it.
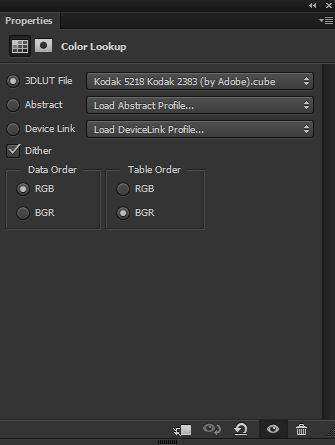
Step 4
Make a Color Lookup adjustment layer and use the Kodak 5218 Kodak 2383 filter and increase the contrast. If you are using older version of Photoshop then probably you’ll will not find this color lookup file. In that case you can use the Brightness/Contrast adjustment layer to increase the contrast.
Results:

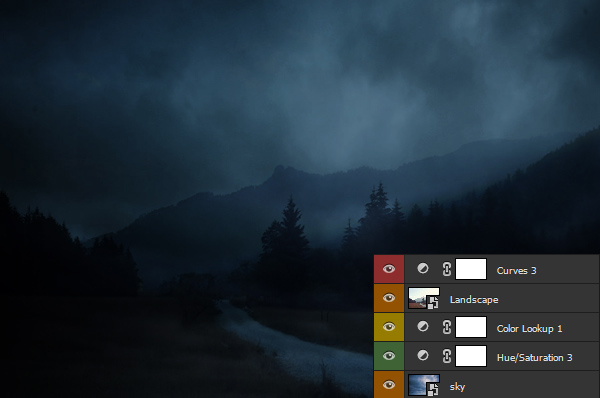
Add the Landscape
Step 5
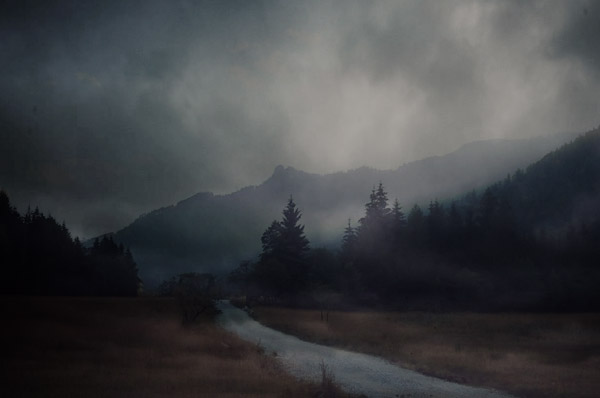
Place the landscape image to main document.

Change the blend mode to Soft Light and here are the results:
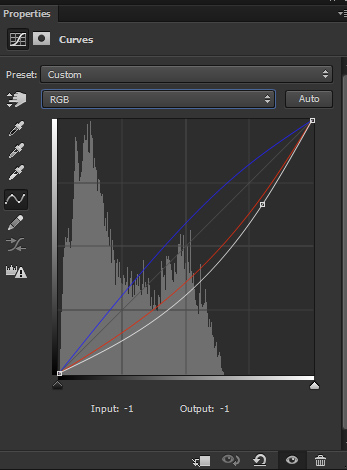
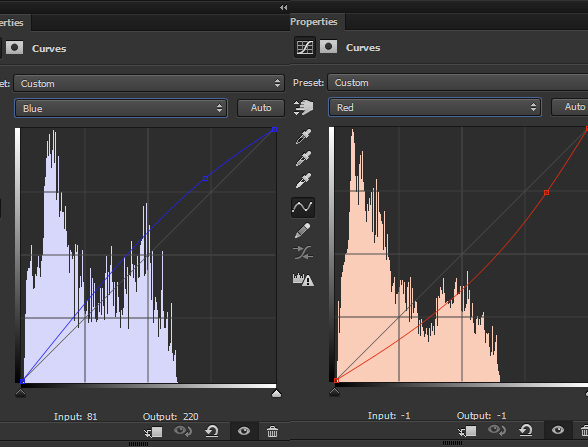
Step 6
Make a Curves adjustment layer above all layers and don’t clip it to landscape. Now increase the highlights using RGB Channel. Also, use the Red and Blue channel to add blue and cyan tones to scene.
Here are the values for RGB:
Here are the settings for Red and Blue:
Results:
Create the Stars
Step 7
Now we are going to create the stars using filters and I’ll show you the trick to create stars. First, create a new layer and fill this layer with black color. To fill the layer, Go to Edit > Fill > Black or press ALT + Backspace (make sure that foreground color is set to black and to set it, just press the D button). Name this layer ‘stars’.

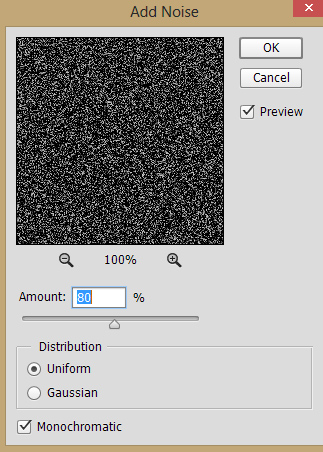
Step 8
Convert the stars layer into Smart Objects. Go to Filter > Noise > Add Noise and use the following settings:
Results on layer:

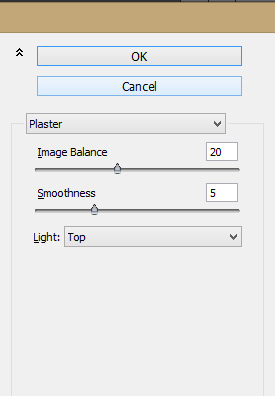
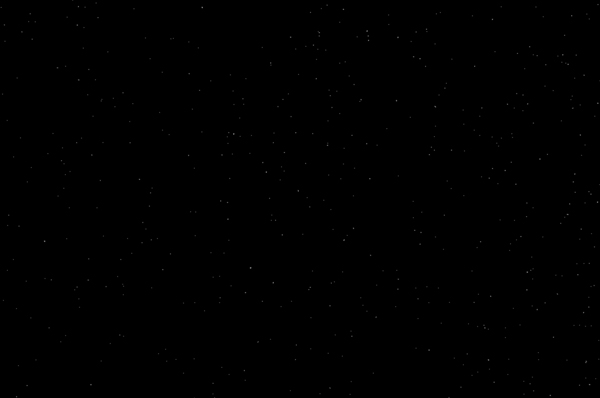
Step 9
Now go to Filter > Filter Gallery and choose the Plaster filter to make the stars. Use the following the settings and remember, the more you increase the Image Balance the less visible the stars. So set it according your needs and click okay.
Results:
Lovely tutorial! <3
Thanks and also, without your stock permission it wouldn’t be possible!
I really liked easy to understand tutorial on photoshop. Would like to see more such tutorials in future.
Yeah man!
There are lot more to come!
Beautiful moonlight photo effect!