In this article, you’ll learn about the simple and easy-to-understand 5 tips that will help you capture epic and gorgeous landscape photos in any condition. These steps if followed carefully can help you get magazine quality photos without spending exorbitant amounts of money for new camera gear that doesn’t result in better photos.
What is Landscape Photography?
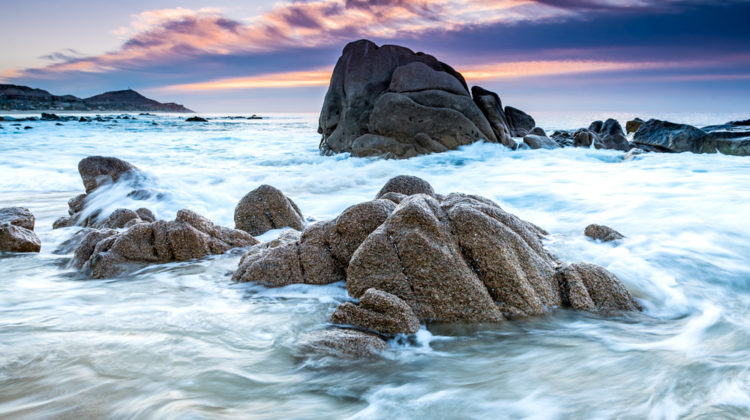
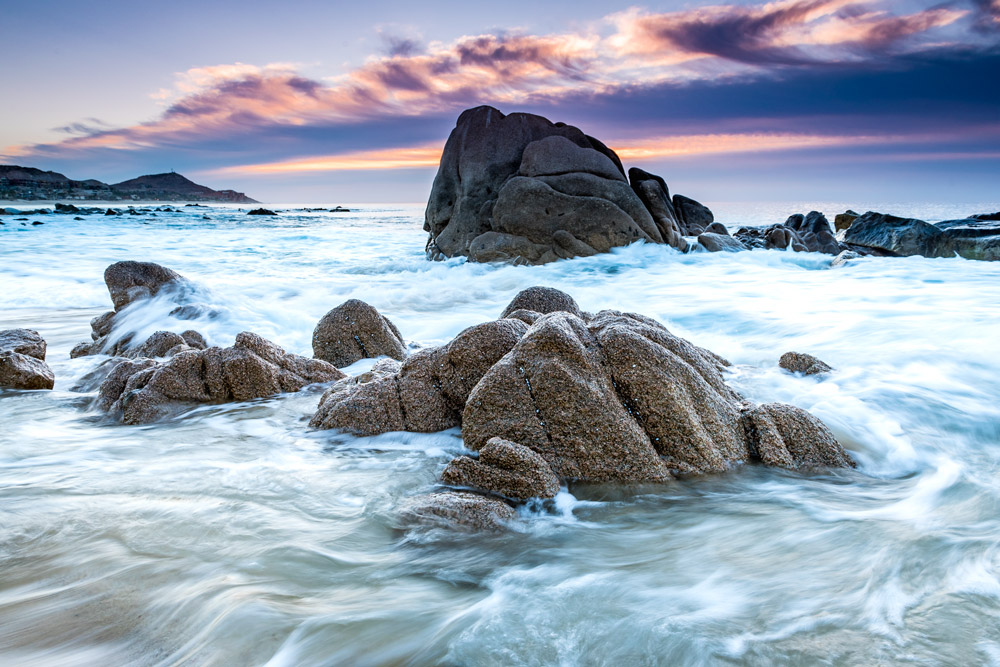
Landscape photography is an art that captures beautiful photos of nature. It is one of the most challenging photography forms in photography. The thing that makes landscape photography most challenging is nature itself. When you go out on a trip to capture beautiful photos of landscapes you don’t have any control of weather, lighting, and conditions of nature. You never know what you are going to get when you arrive there. That’s why it is incredibly challenging.
Tip 1 – Be In The Right Place At The Right Time
It is really important to be at the right place at the right time. You need to know when should you go there, what time does the sunrise, what time does the sunset, what time/year you’ll be able to capture the best photo, and so on…
That can only be done with correct planning and research of your trip. Without the correct information, you might end up not taking the photos that you are really craving for. Make sure to plan and research your trip very carefully, you can take the help of Google Maps, or ask a fellow photographer that had been there where you want to go. That’s why it is really important to make yourself clear where you are planning to go.
Tip 2 – Composition Is Important
Before capturing a landscape photo right off the bat, you should think about the composition. If you don’t have great compositions for your photo, then you have nothing. You need to give yourself enough time to find the best setup and not settle for the setup that you first find.
To make compelling composition, you need to identify the most interesting elements in the photo. For better composition you can use composition rules that are as follows:
- Rule of Third
- Fibonacci Spiral
- Leading Lines
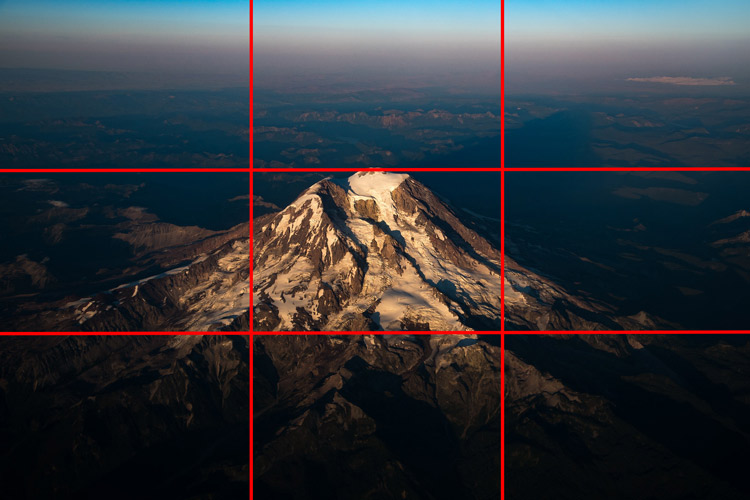
The Rule of Third is accomplished by a grid (either real or imaginary), consisting of four lines that divide your image into nine equal parts. It really is that simple. It’s as easy as placing your important points on
or close to the areas where the four lines intersect. When the object of interest is placed in areas of the frame other than the middle, it forces the viewer’s eye to search the image for what it thinks you intend for it to see.
Instead of placing the most important element part of the frame right in the center to people look at, you invite them to explore the scene as they they look through the scene to find the area where you have added the most interesting points in the frame.
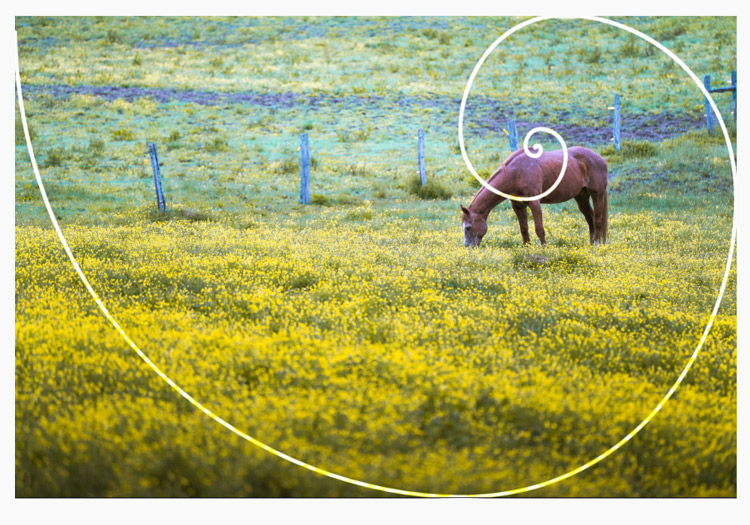
Then we have Fibonacci Spiral Rule. This technique help guide us for placing important elements within our compositions.
Ultimately, the Fibonacci Spiral is best used when your composition presents a singular subject matter surrounded by relatively interesting environmental content. The spiral’s eye serves as the anchor point for the main subject, with the remainder serving to lead our viewer throughout the rest of the frame.
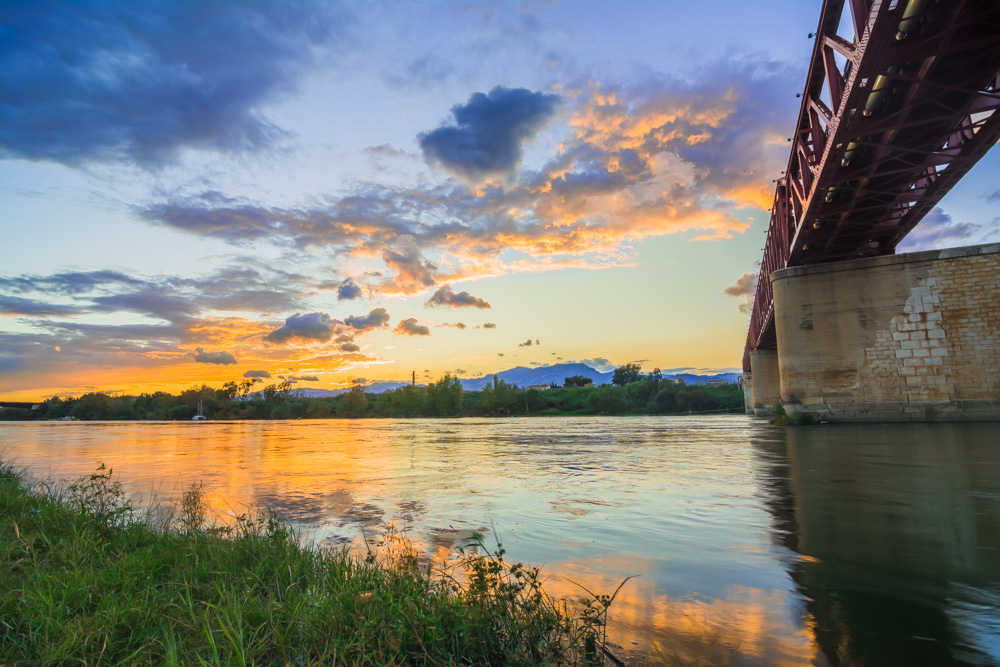
Curves & Leading Lines are a very effective way of drawing the viewer’s attention to a particular subject. Simply put, leading lines help to subconsciously lead the viewer’s attention to your photo’s main subject.
The intent for the main subject is the tree in midframe. Notice how the road emerges vertically from the foreground, leading towards the tree. The mountains in the background form a horizontal plane that points the way towards the tree as well. Even the fence lines parallel to the road, serve to accentuate the main purpose of the photo. Everything within the image points towards the key element of the scene.
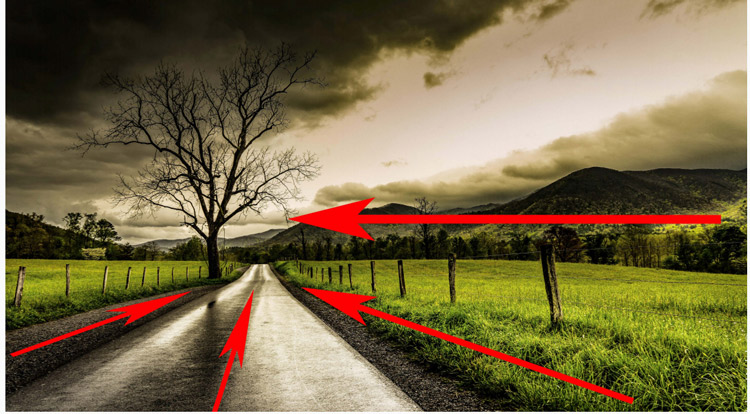
With this rule you basically add depth, interest and intrigue into the frame and invite the viewer to explore it for longer and towards a particular part of the frame.
Tip 3 – Camera Settings
The second thing that is incredibly important is Camera Settings. Without dialing in the perfect camera settings, you are ruining the opportunity to take beautiful photos that you want to take. And once that opportunity is gone it’s gone forever. You may have had the beautiful sunset or gorgeous animals or people doing super-cute things and if you don’t have the composition and camera settings perfect then it’s a fatal mistake.
Tip 3.1 – The Goal of The Camera Settings
The goal of the camera settings should be taking:
- Taking Sharp Photos
- Taking Correctly Exposed Photos
These must be the goals of your camera settings if you want to level up your landscape photography.
Tip 3.2 – Taking Sharp Photos
Taking sharp photos depends on Shutter Speed, Depth of Field, and Focus. The Focus is vitally important here and we’ll focus on that. You can avoid the exposure triangle (reference to light) that is too confusing for most of us and still gets the clear and sharp photos with Single Point Focus.
By default, most of the cameras come with Multi-Point Focus. That means when you push that shutter button halfway down, your camera is sampling the entire scene and it would be making a decision on what the camera should actually focus on.
But in Landscape photography, you need to take the control of the focus point in your hand. So, always use Single Point Focus to tell the camera what needs to be in sharp focus in the frame especially in the foreground and background. Generally in landscape photos, if you set your single point focus on a point that is about 1/3 into the scene then 9 times out of 10, you are going to have sharp photos.
Here are some more tips to get sharp photos:
- Use Mid-Range Aperture To get sharp photos. Mid to Narrow Range aperture works well such as f/8 and going above that might not be suitable. You can play around with it if you have elements in the foreground and background.
- Using Low ISO certainly helps to take clear and sharp photos. Keep it low as you can and a general range would be 100-400 works for landscapes.
- Set You Single Point Focus on a Point that about 1/3 into the scene. Most of the time it will give you sharp photos.
Tip 3.3 – Taking Correctly Exposed Photos
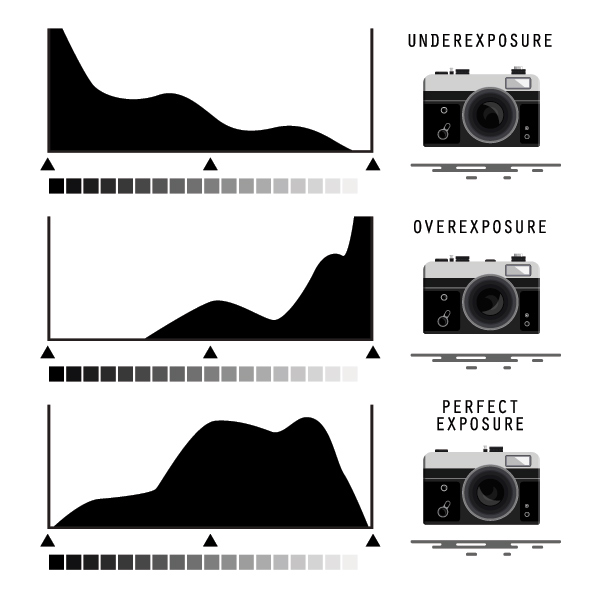
The light in landscapes is controlled by nature and that is why it is very challenging to get the correctly exposed photos. You have to make sure that you are not blowing out highlights in the sky. The sky is the brightest component of any photo and you need to make sure that the details in the sky should be visible after that photo has been taken.
To make sure you don’t blow out highlights in any landscape photos, you need to use Camera Histogram. You need to get to the point where Histogram becomes your best friend. It is vitally essential to get the correct exposure photos. You can take the help of the image below for reference to make sure you not blowing out highlights in the sky.
Tip 4 – Adapting to Weather Conditions
Let’s say you are looking to taking a beautiful sunset photo and you have found the perfect spot to capture the shot. Out of the blue, the weather is not cooperating, it started pouring and lighting and you are not going to get the nice warm sunset that you really want to capture. You are still waiting for light to change (sun would come through) but it didn’t happen.
But here you are missing out on a great opportunity to get the best shot of your career. You are only focused on getting a sunset photo instead of adapting to weather conditions. You had one track mindset, focusing only on photos that you wanted to get instead of reaping the benefit of the current weather.
Maybe the lighting and the dark weather can help you take the best shot. So make sure you are adapting to weather condition that can help you take the photo that you are most proud of or it could be the best photo of your career.
Tip 5 – Post-Processing
Post-Processing is so critical because, without it, your photos won’t have the wow factor you want. This is the step where you can add drama and direct your viewer’s eye to the important elements of your photos.
The best bet would be to selectively enhance the area of photos using the Using The Adjustment Brush Tool. It is one of the best tools to get the most out of photos in Lightroom. It selectively targets the areas that you want to edit and leaves the rest of the photo intact.
Here is an image before post-production:
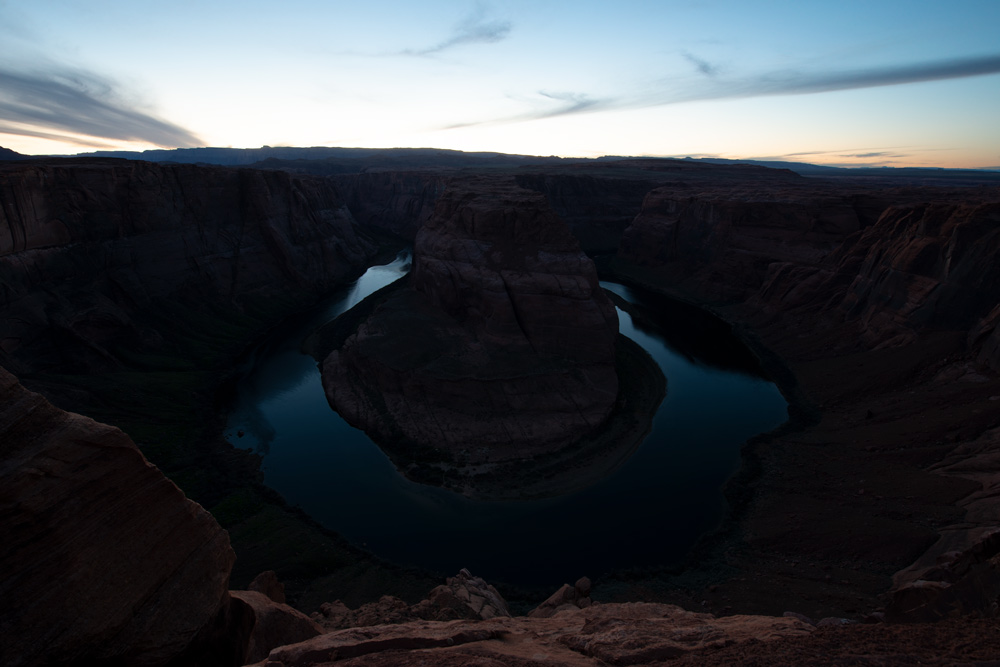
Here is the image after post-production:
Alternatively, you can try to fix exposure, recover details from shadows & highlights, add sharpening, boost colors and so on to improve the photo further.
Also, you can take the help of Lightroom Presets so you don’t have to spend hours creating looks from scratch. A preset will help you add drama to your photos in a matter of seconds. Check out the Master Collection Preset Bundle with 19 Collection including HDR Landscape preset collection.
I hope you enjoyed the article. Now you should have a great understanding of landscape photography and of course there is a lot more to cover. I don’t want the article to be confusing and so I put it in the simple language. If you have questions, please comment below.
Photographing breathtaking landscapes is an art form in and of itself. It’s a tough kind of photography that requires skill and practice.
Yes, it is tough skill.