Composition is the key to stunning photos. If you don’t have great compositions in your photo, then you have nothing. Finding compositions in nature is easy but you need the vision to see it. Thankfully, there are some compositions rules that you can use to hunt great photos. Once you memorize these composition rules, they will surely help you set yourself apart from the crowd. Let’s get started!
The Rule of Third
It’s one of the most popular and easy-to-follow composition rules. In this rule, you divide the frame in a 3 X 3 grid so you have a total of 9 frames to work with. With the grid, you can decide to place the most interesting element in one of the frames where you think it would suit the best.
The general idea behind the rule of third is that you don’t want to put the main hero of the photo in the middle of the frame. With the help of the grid, you can place the hero or the main subject of the image on either the left or right third line. Also, the most interesting points in the Rule of Third are the intersection points of the lines.
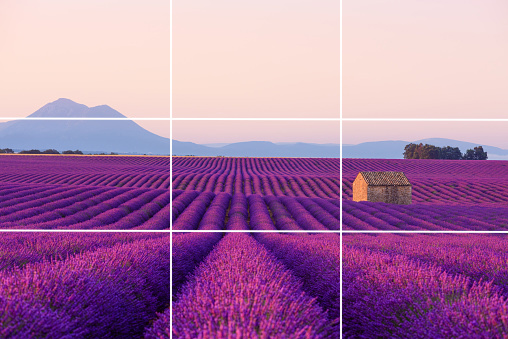
Take a look at the photo above where the house is placed on the right third of the frame. This rule is easy to understand and often recommended to new photographers and later you can try more advanced compositions rules.
Leading Lines
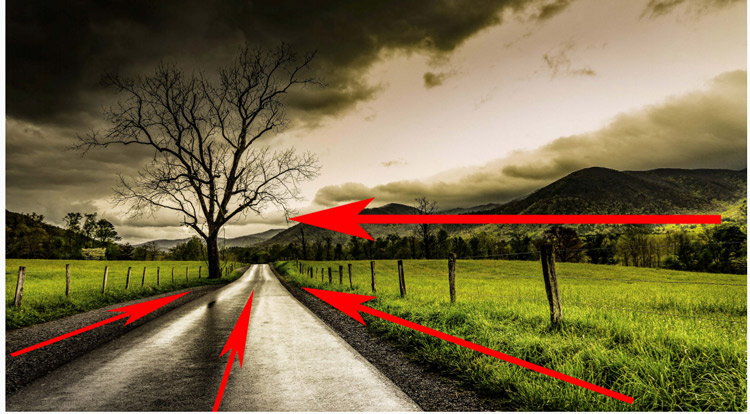
After the rule of thirds, we have Leading Lines. Leading lines are elements in the real world and you need to learn how to find them. These elements point towards the main subject of the image or the background. Sometimes they are easy to find and sometimes you can search them by looking at the place that you are trying to capture. There will be curved lines, sometimes they are obvious and they may be subtle as well.
The goal of the leading lines is to bring attention to the main element in the photo. In the image below, you can see everything from the mountain to the road they all are pointing to the main subject which is the tree. Mountains are horizontally leading you towards the tree while the fence and the road are vertically leading your eyes to the tree. These may be not visible as the rule of third this is something you have to do with your vision.
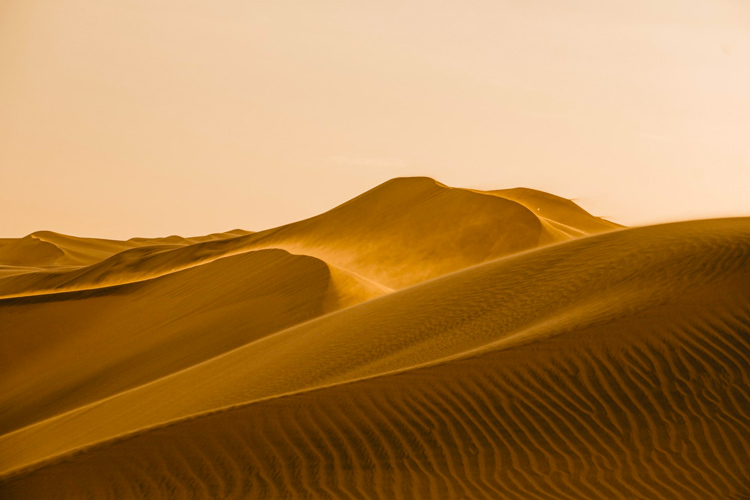
Remember, they are tough to find in a natural environment and there can be multiple leading lines leading you toward multiple parts of the image such as the photo of dunes below. Be creative with your vision and focused while hunting for a great photo.
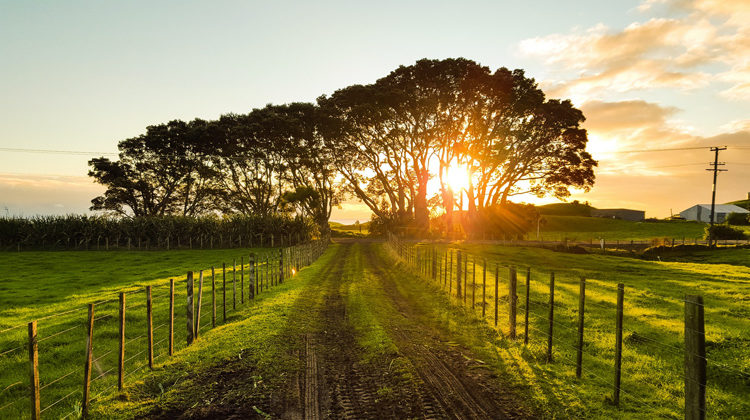
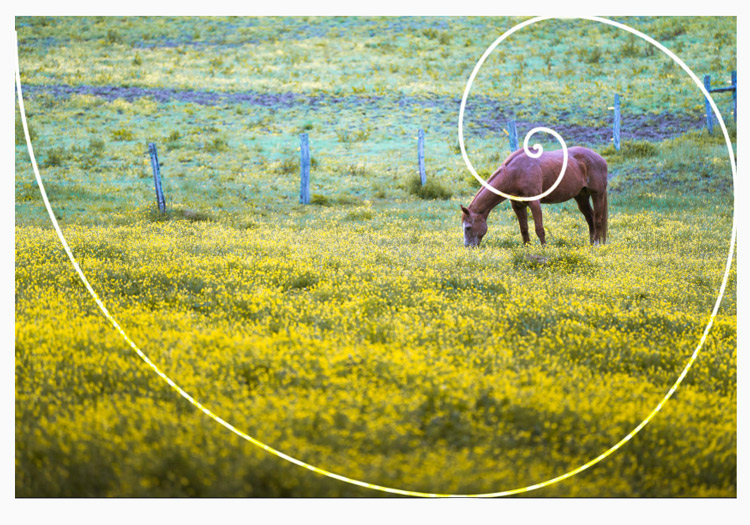
Golden Ratio Rule
This is an ancient rule that has been used in sculpting, painting, drawing, and even in photography originating from Greece. In my opinion, it is an advanced version of the Rule of Third, the only difference it is denoted by a spiral.
The rule is very effective when it comes to connecting the subject of a photo with its surroundings. The spiral in this rule serves as an anchor point and where the spiral gets smaller that’s the main focal point of a photo.
If you see the image below, you can notice the subject is connecting with the surrounding. The anchor eye draws your attention to the main subject as you move your eyes from the subject you’ll be led by the spiral around the image.
This rule is fun to use and even if your image doesn’t use this rule directly you can use Lightroom to crop the image and make it work better. Just open the Lightroom, Select the Crop tool and cycle through the crop mode by hitting (O) until you see the Golden Ratio rule crop mode.
Balance & Symmetry
Balance and Symmetry are difficult to find in nature. This rule involves adding an equal amount of visual weight in a photo. Yep, that means every element in your photo should provide equal balance from side to side or top to bottom.
This kinda looks very promising as the balance and symmetry are pleasing to human eyes but they are not easy to find. To make it easier for you, you can think about mirroring an image from side to side. This rule is kinda best suited when you have large subjects such as buildings, and monuments that have symmetry on both sides.
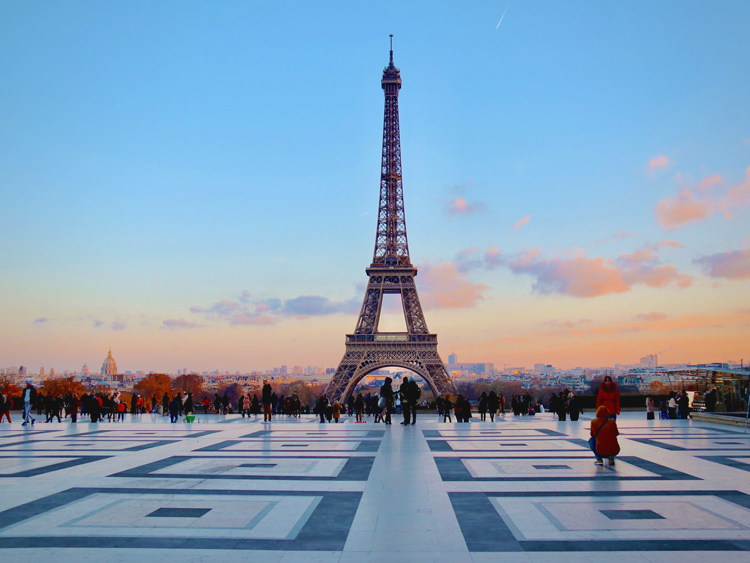
Take a look at the image above of the Eiffel tower. Placed in the center, symmetry is equal from side to side and the tower is in the charge of the photo as well. You don’t need the balance from side to side every time, just use it when you can find it but do not ignore this principle when you are in the field.
Framing
Framing is easy and as the name suggests it is all about framing the main subject between something else. The framing of a subject can take place from side to side, top to bottom, or all around the main subject.
The framing draws the viewer’s eyes directly to the main subject usually in the middle of the frame. Classic examples of framing are shooting through a window or door. You can find frames in urban areas but it is a bit difficult in landscape photography.

In landscape, you can look for caves, naturally formed shapes that can be used as frames. A tip is to use a wide-angle lens and put your camera inside a small structure. Taking a shot from a small structure is effective at storytelling and is a better way to frame a subject.
That’s it for the article. I hope you learned something about the composition rules. Make sure to memorize them and I would recommend (sometimes) to abuse them. Yep, it kinda sounds confusing but sometimes just keep them aside capture what you really want to capture inside the frame.
Leave a Reply